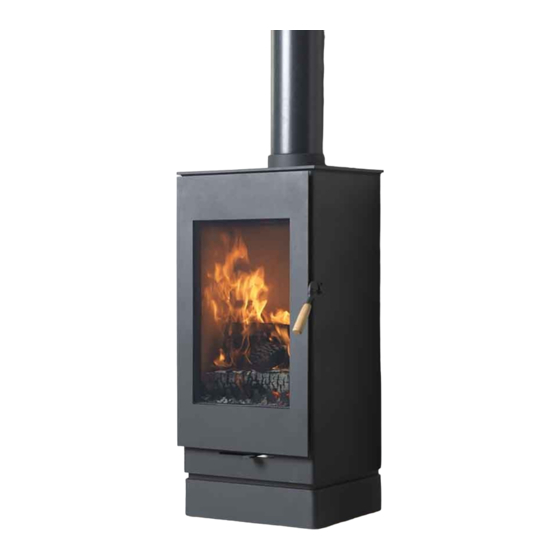
Burley 9307 Fireball Інструкція з монтажу та посібник користувача - Сторінка 12
Переглянути онлайн або завантажити pdf Інструкція з монтажу та посібник користувача для Дров'яна піч Burley 9307 Fireball. Burley 9307 Fireball 20 сторінок.

Assembly and Installation of the Stove Fire Bricks and Baffle
Having positioned your Burley stove and connected it to a chimney with flue pipe, you need to
assemble the inside parts.
There are four internal components: top brick, two side cheeks, and a rear brick.
Fitting of Stove Bricks
Note: this should be done without the inner glass section
fitted - page 9.
To fit the vermiculite bricks:
Place the left side in so the longer edge is at the front and
the shorter edge at the rear.
Put the top brick in the stove so the rounded edges are at
the back and the flat surface is up. The top brick should
stay in place by resting it on the side brick and the top of
the square metal tubes.
Place the right side in so the longer edge is at the front
Place the back in.
Slide the top brick backwards so the lip sits over the back
and side bricks, keeping them in place and ensuring there
is no gap at the back.
Place the stainless steel baffle so the 'legs' are on the
back tubes and the front is supported by the angled bar at
the front.
The base brick should already be fitted. If it is removed
and needs to be refitted please ensure that the small
circular cut-out (if present) is on the underside.
Log Retaining Bar
Fit the log retaining bar so the angled return is pointing into the stove. This will help to keep the
glass clean.
Fitting the optional base(s)
To ensure a close, seamless joint, the base is purposely a very close fit to the body of the stove.
The base is folded in a slightly tighter radius than the body so when in position it can spring out a
little.
Place the base in the desired position. With lifting gear or sufficient assistance, lift the stove and
lower it vertically on the base. It may be necessary to spring the rear of the log base a little to fit
inside the base of the stove. The base will rest on the levelling brackets on the underside of the
stove. If necessary, using a rubber mallet tap the inner edges of the base so they form a flush fit
with the sides of the stove, then tap the back edges of the base to form a flush fit with the front of
the stove.
Provided the floor is level and solid, and the flue pipe provides stability for the top of the stove, up
to three bases may be fitted. Each base is fitted with levelling brackets should they be needed.
Page 12 of 20
