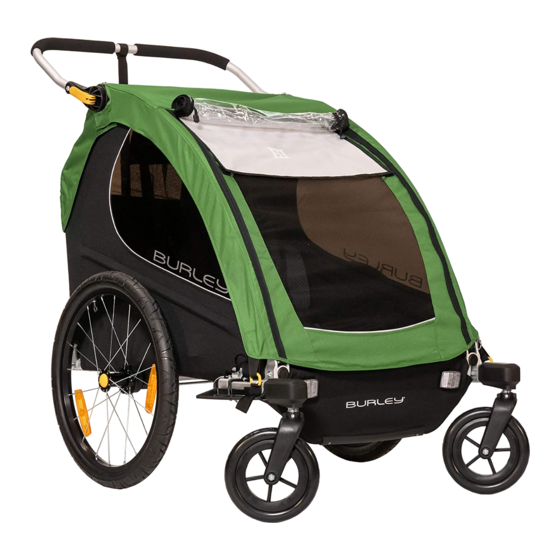
Your Wide Screen 2-in-1 Cover is held in place by six snaps at the
front, rear, and top. Note that the cover has a screened logo on the
rear facing panel. Always use your cover to keep debris out (and toys
inside) of the trailer when it's in tow.
The Wide Screen 2-in-1 Cover features a clear plastic flap in front
and a tinted plastic flap in the rear. To install, first snap the mesh
portion to the roll bars, then fasten the rain flaps to the mesh
portion.
To make your trailer more visible, clip a light into the light-holder tab
sewn on the upper part of the back of your cover. There are several
brands of inexpensive clip-on lights that will make your trailer more
visible to motorists and other cyclists. You're done! Please go back
over these directions and recheck your work.
IMPORTANT: Read and study sections "IX. Hitching the Burley
d'Lite to Your Bicycle," "XI. Safety Guidelines," and "XII. Safety
Checklists" before using your Burley d'Lite.
IX. Hitching the Burley d'Lite to Your
Bicycle
The trailer hitch was designed to quickly and safely attach to
virtually all types of bicycles. It is inserted in front of the left rear
dropout of your bicycle.
Hitching the Trailer to Your Bicycle
Loosen the knob on the eyebolt until the two arms are spread fully
apart. Slip the lower hitch arm under the chain stay (A) and the
upper arm above the seat stay (B). (See illustration on next page.)
Wedge the hitch cone all the way back into the angle formed by the
stays at the wheel. Tighten the knob until the arms are firmly
clamped against the stays. Wrap the safety strap around the inside
of the chain stay, over the hitch body, and back to the D-ring at the
end of the tongue.
Make sure that the cone is wedged securely into the stays. The knob
should be finger-tight; do not overtighten. The hitch should not move,
but should allow the bicycle complete movement, including lying it down
on the ground. It should clear any racks, bags, or fittings you have on your
bicycle. If there is any interference, contact your Burley dealer.
12
A
IMPORTANT: Remove trailer from your bicycle when it's not in use
to prevent deforming the plastic hitch.
Do not operate trailer without hitch safety strap properly installed. A
dangling safety strap can contact spokes and damage rear wheel or cause
accident resulting in serious injury.
Hitch must seat properly into stays and not interfere with racks, bags, or
fittings. Inspect hitch and tongue frequently for damage or loose fasteners.
Interfering parts or damaged hitch can cause accident resulting in serious
injury.
Do not use or store trailer at temperatures below 32˚ Fahrenheit as hitch
rubber flex connector can become brittle and possibly break, causing
accident resulting in serious injury.
B
13

