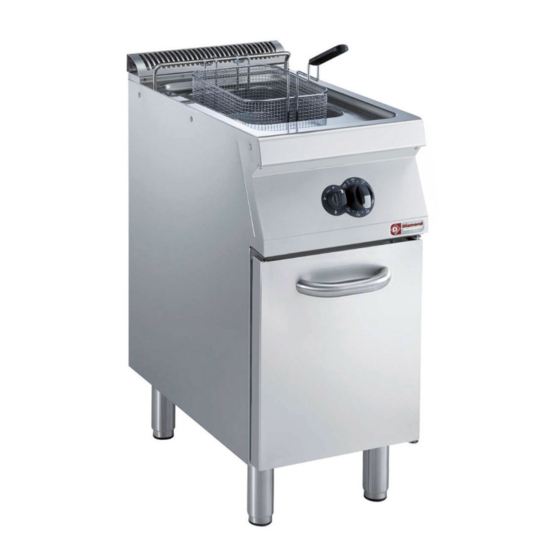
Diamond +7FRED1FF0 Посібник користувача - Сторінка 11
Переглянути онлайн або завантажити pdf Посібник користувача для Фритюрниця Diamond +7FRED1FF0. Diamond +7FRED1FF0 15 сторінок.
Також для Diamond +7FRED1FF0: Посібник із швидкого старту (15 сторінок), Посібник (15 сторінок)

1.2. ELECTRIC MODELS
Switching on
• Pour the oil in the tank up to the max. level indicated by the
special reference notch obtained on the rear wall of the tank.
• Turn on the main switch located ahead of the appliance.
• Turn the knob of thermostat "A" to the value corresponding
to the required cooking temperature.
• Lighting up of green indicator "B" signals that the power is
on. Lighting up of yellow indicator "C" signals that the
heating elements are on; it goes off when the set tempe-
rature is reached.
NB! When using a fryer with heating elements inside the
tank, pay particular attention when handling them, using the
special support bracket "D". For greater safety, a microswitch
cuts off the power when the heating elements "E" are raised.
Switching off
• Turn the knob of thermostat "A" anticlockwise to position
"0".
C
A
0
B
D
E
1.3. ELECTRIC MODEL
CONTROL
1
5 2
3
8
7
1 -
ON/OFF key
2 -
temperature setting key
3 -
left basket program start key
4 -
right basket program start key
5 -
temperature (work and set) display
6 -
program (left and right) time display
7 -
temperature setting (up / down)
8 -
left basket program time setting (up / down)
9 -
right basket program time setting (up / down)
10 - stored (or storable) program keys
11 - key for "melting" cycle (Off / On: the melting cycle begins at
swicht-on if the temperature recorded by the work thermostat
is below 70°C)
Switching on: press button "1".
Switching off: press button "1".
1.4. TEMPERATURE SETTING
• Display "5" shows the set temperature for cooking. To display
the actual temperature of the oil in the tank for a few seconds,
briefly press key "2".
• Press keys "7" to increase/decrease the set value. The display
has a sensitivity of ±1°C (keeping key "7" pressed, the
temperature setting changes faster). After setting, display "5"
flashes for 3 seconds, then the temperature indicated will be
stored.
• If the LED of key "2" is:
- RED: the temperature of the oil has still not reached the
set temperature.
- GREEN: the oil has reached the set temperature.
Cooking can begin.
1.5. COOKING TIME SETTING
• Display "6" shows the set cooking time.
• Press keys No.8/9 to increase/decrease the set value:
the display has a sensitivity of ±5s and allows a min. time
of 00:30s. (keeping keys "8-9" pressed, the set time changes
faster).
• After setting, display "6" flashes for a few seconds, then
the value indicated will be stored.
• Press keys "3"/"4" to start lowering the left/right lifter.
Display "6" corresponding to "6" will start the set time count-
down. On reaching the value 00:00, the cycle ends with
the lifter coming out of the oil bath and the display gives
the value initially set.
WITH ELECTRONIC
6
4
11
12
10
13
9
27
