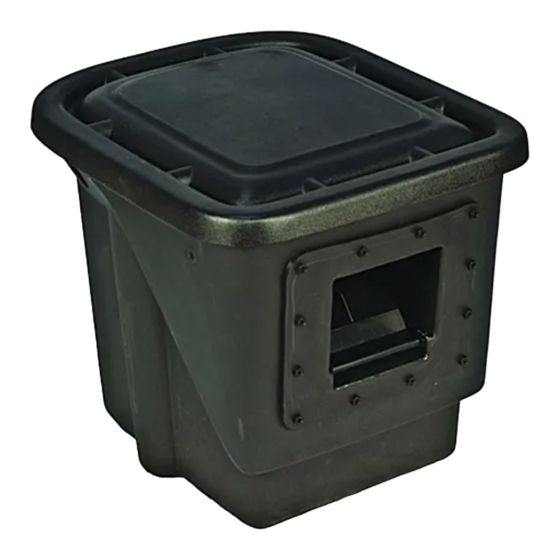
AquaScape 43020 Інструкції з монтажу та обслуговування - Сторінка 4
Переглянути онлайн або завантажити pdf Інструкції з монтажу та обслуговування для Газонна та садова техніка AquaScape 43020. AquaScape 43020 16 сторінок. Pond skimmer
Також для AquaScape 43020: Інструкції та обслуговування (16 сторінок), Інструкції та обслуговування (16 сторінок)

Installation
STEP 1
PLACEMENT OF THE SKIMMER
• In order to maximize circulation, the skimmer should be
placed directly across from a waterfall. If you do not have
a waterfall, use your area's prevailing winds to determine
where you should place your skimmer along the longest
axis. Use the wind to help push the debris toward the
skimmer (Ex. 1).
Skimmer
STEP 2
EXCAVATING YOUR POND BASIN
• If you are installing the skimmer on an existing pond skip
this step and proceed to the next.
• We suggest excavating the pond no more than 18-24"
deep. This depth provides the proper water levels required
for aquatic plants and is deep enough to keep fish alive
during winter.
• The excavation should be
dug with a series of shelves.
The shelves will add stability
to the walls of the pond
and will also create planting
beds for different types of
aquatic plants.
• The first shelf should be
about 8-10" deep, or the
height of a standard shovel
blade (Ex. 2).
• Dig the second shelf another
8-10" deeper (Ex. 3).
• The third shelf (if desired) will
be excavated down another
6" reaching a final excavation
of 24" (Ex. 4).
4
STEP 3
EXCAVATING YOUR
SKIMMER LOCATION
• When installing the skimmer
onto an existing pond you
will need to drain the water
from the pond. If you have
fish, save some water from
the pond and place in a large bucket, kiddie pool, or
cooler. Catch your fish and place them in your container.
Be sure to add an aerator and keep the fish in a shaded
Prevailing Winds
area.
• Remove any rock that is within 3 feet on either side and in
front of where you will place the skimmer. Pull your existing
liner and underlayment back into the pond 3-4 feet from
Waterfall
edge so you expose the area that needs to be excavated
for the skimmer.
• We recommend placing the skimmer lid in the position you
have chosen. Overhang the lid about 6" towards the inside
of the pond to allow some slack in the liner and make
attaching the faceplate easier.
• Mark the outside edge of the lid with spray paint or score
the ground around the lid with a shovel.
Ex. 1
• Excavate the hole for the skimmer, roughly 18" wide by
21" long (the outline for the skimmer) and 18" below the
desired water level.
• Make sure the excavated area under the skimmer is
compacted and level.
• The skimmer should be
excavated down to a
depth so that the
proposed water level
in the pond is
approximately 3/4"
below the top of the
opening of the skimmer
(Ex. 5). If installing on an
existing pond use the known water level as your guideline
on how deep to excavate the skimmer.
Ex. 2
• Re-check all your measurements, including length and
width of pond, plant shelf depth, and overall pond depth.
STEP 4
INSTALLING THE SKIMMER
Ex. 3
• Set the skimmer in place and
use a 2' bubble level in order
to make sure your skimmer
is properly set into position
(Ex. 6). Your skimmer should
be level from side to side and
front to back.
Ex. 4
☎
US (866) 877-6637 |
Soil Level
on 1st Shelf
☎
CAN (866) 766-3426 | aquascapeinc.com
Ideal Water Level
3/4" Below
Front of Skimmer
Ex. 5
Ex. 6
