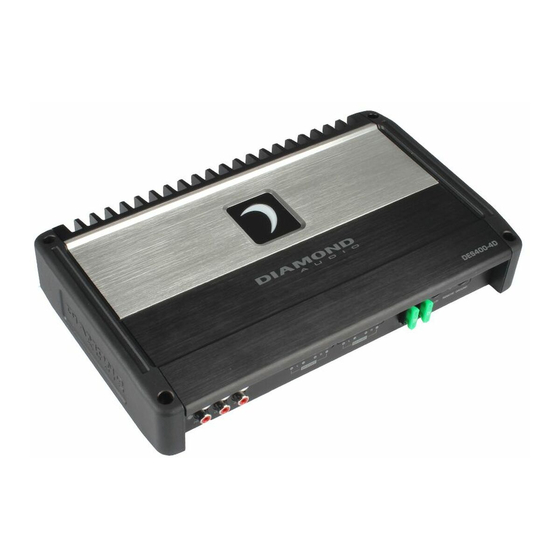
Diamond Audio DES Series Посібник користувача - Сторінка 12
Переглянути онлайн або завантажити pdf Посібник користувача для Підсилювач Diamond Audio DES Series. Diamond Audio DES Series 20 сторінок.
Також для Diamond Audio DES Series: Посібник користувача (4 сторінок)

SYSTEM CONFIGURATIONS
Speaker level Input (Hi Level)
This is for OEM radios with NO RCA outputs, only speaker outputs. For
each speaker or subwoofer that you plan to drive, with an amplifier
channel, strip back a small part of your vehicle's color-coded left and right
speaker wires then splice in the wires that lead to your amplifier.
(Solder or crimp, and secure the connection for optimum performance.)
NOTE: Amplifying front seat speakers will require you to run wiring thru a
door jamb or the floor carpeting to reach the speakers. Likewise, if your
amp is under a front seat, the front speakers are more accessible than the
rear ones. If your amp is in your trunk, it's a relatively short path to rear
deck speakers or a subwoofer.
12
5 CHANNEL - COMPLETE SYSTEM
(DES1000.5D)
Front/Rear
Speaker setup
(4 /2 W on front channels)
Front Out
from Headunit
Rear Out
from Headunit
5 Channel DES1000.5D
(front panel connection)
HEAD UNIT
(perferredly with 5V output)
ESC
SOURCE
BAND
VIEW
MUTE
FUNC
Sub Out
from Headunit
Subwoofer (4W load)
SPEAKER LEVEL INPUT (OPTIONAL):
Since the DES series amplifiers can take speaker level
in , here is the simpliest way to use it. Get an in-expensive
pair of RCA's. Cut the cable about 18 inches back.
Strip the left and right wires to connect to
the OEM amplifier/Headunits speaker
outputs then plug directly into the DES
RCA input harness. Just switch how
Turn-On works (REM/DC/VOX)
Once stripped as
+
(shown to the right)
solder the speaker
leads from your OEM
headunit
TAG
AUDIO
Switched 12 V Out
from Headunit
