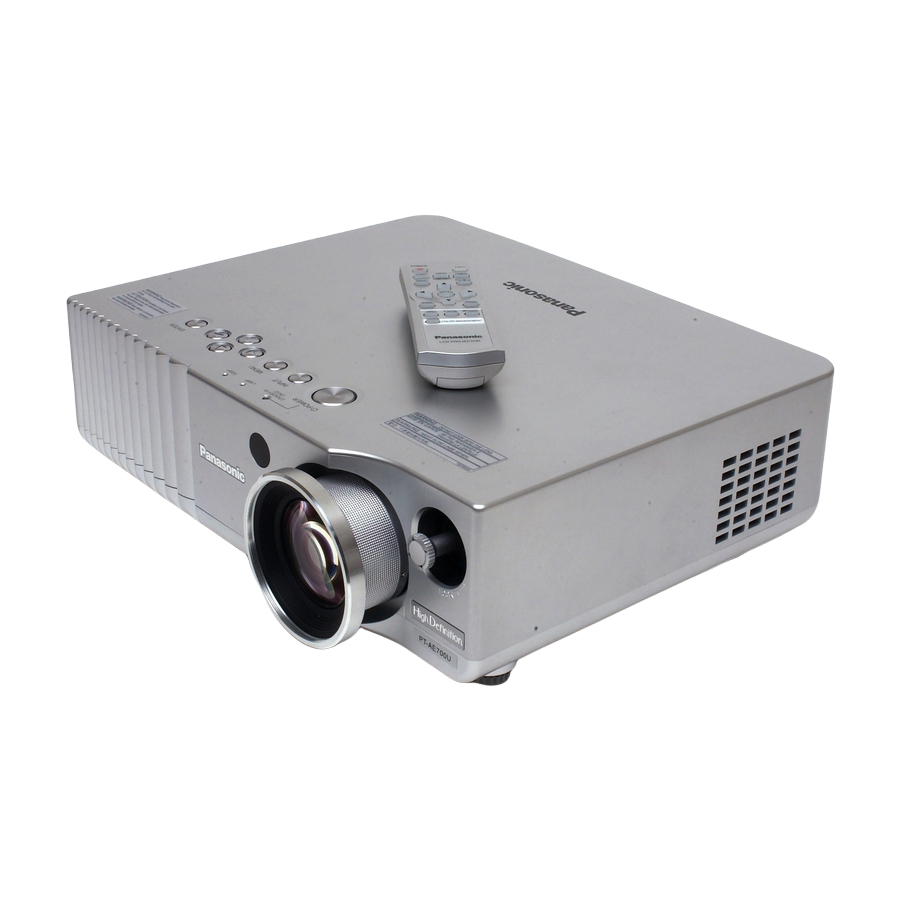
Panasonic PT-AE700 Інструкція з експлуатації Посібник з експлуатації - Сторінка 21
Переглянути онлайн або завантажити pdf Інструкція з експлуатації Посібник з експлуатації для Проектор Panasonic PT-AE700. Panasonic PT-AE700 32 сторінки. Panasonic lcd projector operating instructions

Adjusting the picture
Press the F or G button to select an
item, and then press the I or H
button to change the setting.
For items with bar scales, press the
ENTER button or the I or H button
to display the adjustment screen,
and then press the I or H button to
make the adjustment.
For items without any selective
arrow or bar scale, press the ENTER
button. The menu screen for the item
will then be displayed.
When an S-VIDEO/VIDEO/SCART
signal is being input
P I C T U R E
P I C T U R E M O D E
N O R M A L
C O N T R A S T
0
B R I G H T
0
C O L O U R
0
T I N T
0
S H A R P N E S S
0
C O L O U R T E M P .
0
D Y N A M I C I R I S
O N
A D V A N C E M E N U
M E M O R Y S A V E
M E M O R Y L O A D
T V - S Y S T E M
A U T O
S E L E C T
A D J
E S C
When a YP
P
/PC/HDMI signal is
B
R
being input
P I C T U R E
P I C T U R E M O D E
N O R M A L
C O N T R A S T
0
B R I G H T
0
C O L O U R
0
T I N T
0
S H A R P N E S S
0
C O L O U R T E M P .
0
D Y N A M I C I R I S
O N
A D V A N C E M E N U
M E M O R Y S A V E
M E M O R Y L O A D
S I G N A L M O D E
5 2 5 p
S E L E C T
A D J
E S C
40-E
NGLISH
PICTURE MODE
Refer to page 29 for details.
CONTRAST
This adjusts the contrast of the
picture. (Adjust the "BRIGHT"
setting first if required before
adjusting the "CONTRAST" setting.)
The picture is bright: I button
The picture is dark:
H button
BRIGHT
This adjusts the darker areas (black
areas) in the picture.
Black areas are too light: I button
Dark areas are too solid: H button
COLOUR
(S-VIDEO/VIDEO/YP
P
/PC/HDMI
B
R
only)
The colour is too deep: I button
The colour is too pale: H button
NOTE:
B When PC signals are being
input, adjustment can be made
only when 1 125 (1 080)/60i
and 1 125 (1 080)/50i signals
are being input.
TINT
(NTSC/NTSC 4.43/YP
P
/PC/HDMI
B
R
only)
This adjusts the flesh tones in the
picture.
The flesh tones are greenish: I button
The flesh tones are reddish: H button
NOTE:
B When PC signals are being
input, adjustment can be made
only when 1 125 (1 080)/60i
and 1 125 (1 080)/50i signals
are being input.
SHARPNESS
To soften the picture details:
I button
To sharpen the picture details:
H button
COLOUR TEMP.
C O L O U R T E M P .
- 2
[
C O L O R T E M P .
- 1
[
C O L O R T E M P .
0
[
C O L O R T E M P .
+ 1
[
C O L O R T E M P .
+ 2
This is used to adjust the white
areas of the picture if they appear
bluish or reddish.
DYNAMIC IRIS
D Y N A M I C I R I S
O N
[
O F F
ON
The amount of light is controlled to
project the images with high
contrast.
OFF
"DYNAMIC IRIS" is disabled.
ADVANCE MENU
Picture settings can be adjusted in
more detail.
Press the ENTER button to display
the "ADVANCE MENU"
A D V A N C E M E N U
G A M M A H I G H
0
G A M M A M I D
0
G A M M A L O W
0
C O N T R A S T R
0
C O N T R A S T G
0
C O N T R A S T B
0
B R I G H T R
0
B R I G H T G
0
B R I G H T B
0
C O L O U R M N G M T
S E L E C T
E N T E R
E S C
GAMMA HIGH/MID/LOW
These items are for adjusting the
gradation of the bright, medium and
dark scenes in the projected image
respectively.
CONTRAST R/G/B
These items are for adjusting the
colour temperature of the white
areas of the projected image by
changing each level.
BRIGHT R/G/B
These items are for adjusting the
colour temperature of the black
areas of the projected image by
changing each level.
COLOUR MNGMT
This item is for adjusting the
selected colours of the projected
image to suit your preference, and
saving the settings. Refer to page
32 for details.
E
-41
NGLISH
