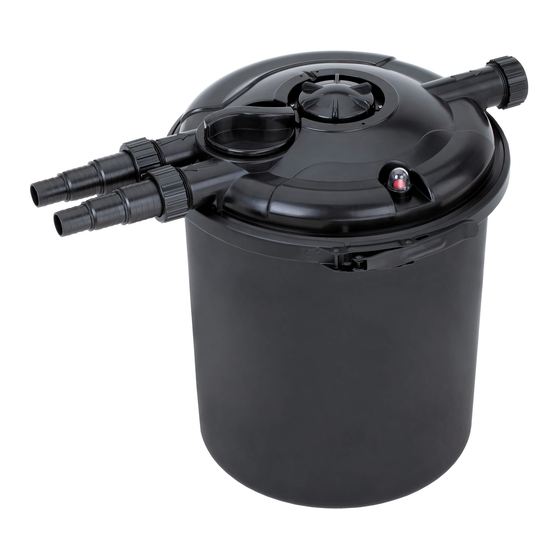
EasyPro Eco-Clear EC2600U Інструкція з експлуатації, безпека, гарантія - Сторінка 4
Переглянути онлайн або завантажити pdf Інструкція з експлуатації, безпека, гарантія для Системи фільтрації води EasyPro Eco-Clear EC2600U. EasyPro Eco-Clear EC2600U 8 сторінок. Eco-clear pressurized filters
Також для EasyPro Eco-Clear EC2600U: Інструкція з експлуатації, безпека, гарантія (12 сторінок)

Cleaning or Replacing the Filter Pads.
When installed on a dirty pond, the foam pads will need to be cleaned more frequently
until the pond clears. As pond conditions stabilize, the time between cleanings will
increase. Pads are meant to be slightly dirty, there is no need to overclean them. If you
notice a decrease in water flow, the filter may need to be cleaned. Also, be sure to check
that the pump is not clogged. Replacing the pads should be done as they begin to show
signs of wear to maximize filtration capabilities.
1. For EC1300U with UV, be sure to turn this off or
unplug it before servicing. Unplug the pump before
opening filter.
2. Loosen the locking nuts that secure the tubing
connectors to the filter and remove them from the
lid. Be sure not to lose the gaskets that seal the
connectors to the filter.
3. To access the pads and bio-balls for cleaning or
replacement, the top of the filter can be removed by
taking off the clamp. Start by sliding the locking wedge
to release tension.
4. T o remove the clamp completely depress the tab and
open the clamp wide enough to remove from the filter.
5. Carefully lift the lid off the tub. Be sure to not lose the
O-Ring that seals the lid and tub.
6. Filter pads can be removed and rinsed with clean water.
Replace with new pads if they are showing signs of
wear.
7. Bio-balls can be accessed by removing the plate at the
bottom. Bio-balls can be rinsed with pond water to get
larger debris from them, but do not overclean these. This
is where the beneficial bacteria grow.
8. Replace items in reverse order and install the O-ring with
lid assembly back on filter body.
9. Secure the clamp around the filter by closing the clamp
firmly and sliding locking wedge into place for a tight
seal.
10. Reattach hose connections with gaskets and locking
nuts securely in place.
11. Plug in pump and UV. Observe the filter and check for
leaks.
4
Step 3
Step 4
Step 6
