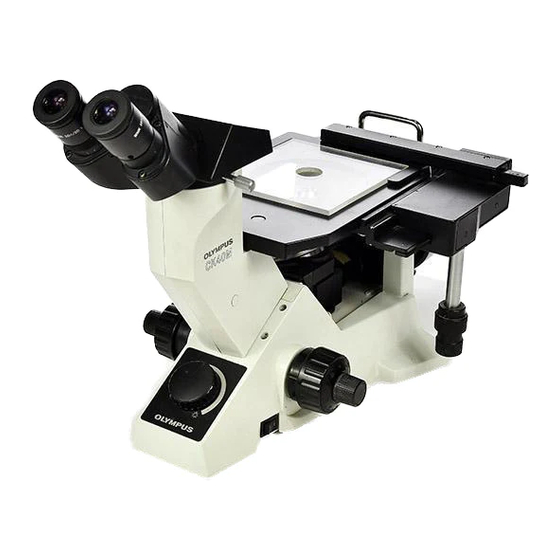
Olympus CK40M FRAME Посібник з ремонту - Сторінка 19
Переглянути онлайн або завантажити pdf Посібник з ремонту для Мікроскоп Olympus CK40M FRAME. Olympus CK40M FRAME 38 сторінок. Compact inverted metallurgical microscope

CK40M
No.
Parts name
•
COVER
‚
MAIN TUBE
ƒ
LENS TUBE
„
INSULATION
TUBE
...
SOCKET MOUNT
†
RING
‡
LENS
ˆ
LENS TUBE
‰
HP GLASS
Š
RING
LENS
11
12
RING
13
FROSTED GLASS
14
LEAF SPRING
15
SHAFT
16
RING
17
DIAPHRAGM
FRAME
18
DIAPHRAGM
BLADE
19
DIAPHRAGM
FRAME
20
LENS
21
FILTER TUBE
22
RING
23
LENS
24
COVER
25
INDICATOR
PLATE
B. DISASSEMBLY AND ASSEMBLY PROCEDURES
Screw
AB3X14SA (*1) 3 pcs.
ANU4X6SA (*2) 3 pcs.
ANU3X4SA (*3) 3 pcs.
AB3X45SA (*4) 3 pcs.
ACU3X10SA (*5) 2 pcs.
ANU6X10SA (*6) 1 pc.
B-12
Grease
Adhesive
OT1131
Apply adhesive to 2 or 3
locations around the ring.
Insert the lens in the correct
direction.
OT1131
Apply adhesive to 2 or 3
locations around the ring.
Insert the lens in the correct
direction.
OT1131
Apply adhesive to 2 or 3
locations around the ring.
OT2008
Apply grease thinly to the
surface contacting the main
tube.
OT1131
Apply a very small quantity
of adhesive to the screw
thread of the shaft.
Don't damage the blade or
contaminate it with grease.
Demagnetization facilitates
mounting.
OT2142
Apply a very small quantity
of adhesive to the outer
circumference.
For the mounting position of
the diaphragm frame, refer to
(5) on the next page.
OT1870
OT1131
Apply adhesive to 2 or 3
locations around the ring.
Insert the lens in the correct
direction.
For the mounting position of
the indicator plate, refer to
(6) on page B-14.
Remarks
