Olympus CKX41 Інструкція з експлуатації - Сторінка 19
Переглянути онлайн або завантажити pdf Інструкція з експлуатації для Лабораторне обладнання Olympus CKX41. Olympus CKX41 36 сторінок. Reflected fluorescence system
Також для Olympus CKX41: Огляд (7 сторінок), Брошура та технічні характеристики (4 сторінок), Посібник з ремонту (43 сторінок)
- 1. Table of Contents
- 1. General Precautions for Observation
- 1. Using the Controls
- 2. Important
- 2. Applicable Fluorescence Objectives
- 3. Nomenclature
- 3. Centering the Mercury Burner
- 4. Troubleshooting Guide
- 4. Specifications
- 4. Assembly
- 4. Assembly
- 4. U-Excitation Filter Set Ckx-Nu (Optional)
- 4. Controls of each Module
- 4. Switching the Filter Slider
- 5. Proper Selection of the Power Supply Cord
- 5. Summary of Reflected Fluorescence Observation Procedure
2
Fig. 7
Fig. 8
6
Centering the Field Iris Diaphragm
1. Engage the 10X objective in the light path, push in the fluo-
rescent mirror switching knob to engage the B-excitation
mirror in the light path, and set the filter slider to the central
open position or the position of the ND filter.
2. Place a specimen on the stage and bring into approximate
1
focus.
3. Turn the field iris diaphragm lever 1 counterclockwise little
by little, and confirm the iris diaphragm position.
4. Using the provided Allen wrench, turn the two field iris
centering screws 2 alternately to move the image of the
diaphragm to the center.
5. After moving the diaphragm image to the center, open the
field iris diaphragm. As this makes slight deviation notice-
able, adjust the centering precisely.
6. After completion of centering, engage the iris diaphragm
diameter until it just circumscribes the field of view.
Adjusting the field iris diaphragm
The field iris diaphragm adjusts the diameter of the illumi-
nating beam to obtain good image contrast.
Keeping the field iris diaphragm stopped down to the small-
est required area for each observation makes it possible to
prevent color fading of areas outside the observation target
region.
According to the objective in use, adjust the diaphragm
image using the field iris diaphragm lever so that the
field of view is circumscribed by the field iris diaphragm
to exclude stray light.
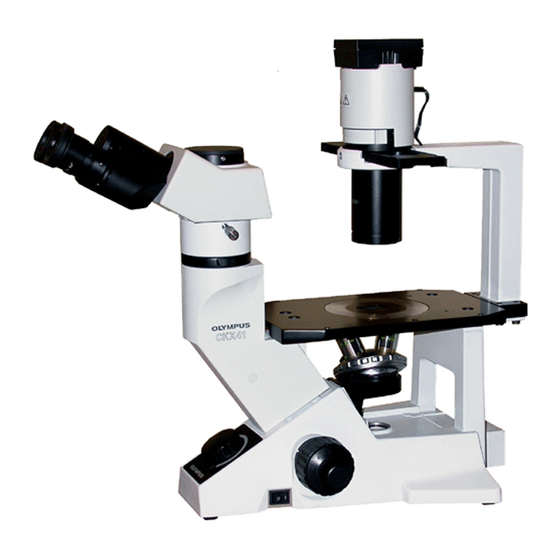
REFLECTED FLUORESCENCE SYSTEM
FOR CKX41
(Figs. 7 & 8)
16