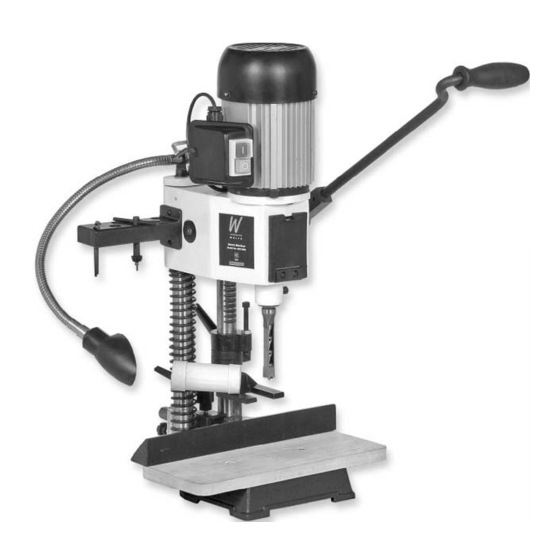
Axminster AW12BM Посібник користувача - Сторінка 16
Переглянути онлайн або завантажити pdf Посібник користувача для Дриль. Axminster AW12BM. Axminster AW12BM 20 сторінок. 12mm bench morticer

Setting up the Machine (Continued)
Quick Setting of the Mortice Depth
Put a mark on an easily accessible end of the workpiece to be mortised, at the depth you require.
Pull the headbox down, and put the end of the timber against the chisel, position the headbox so
that the chisel points or the auger point are at the depth required, raise the depth stop collar to
the underside of the headbox and tighten gently. Recheck the depth of the chisel point, if it is
satisfactory tighten securely, if not it can be gently 'nudged' down the column with the headbox,
then tighten. Reposition the plunge lever handle to give the most comfortable position and
purchase on the lever, over the full distance of the movement you have just set.
Using the AW12BM as a Drill Press
!
Warning.
Do not work on metal/material that could leave greasy/oily marks,
without removing the mortising table. Refit after drilling operations are complete and the
machine has been thoroughly cleaned of these contaminants. (in respect of timber)
Locate the 1-12mm B6 chuck and the B6 to parallel chuck mounting shaft. Fit the chuck onto the
shaft, secure with a light tap with a hammer? et al.
Remove the chisel from the adaptor in the headbox., clean and put aside, or stow in the
accessories rack. Remove the chisel clamping bolt, (See fig 5) then slide the chuck guard on to
the lower bearing flange of the headbox. (See fig 5a) Introduce the chuck mounting shaft
through the adaptor and up into the auger mounting chuck, (See fig 5b) tighten the chuck
securely onto the parallel shank.
N.B. If you have insufficient reach under the drill chuck, the reach can be marginally increased by
removing the machine table. This will also allow access to the machine base slots to facilitate
clamping the workpiece down etc.
NOTE. Before running the machine in the 'drill mode' lightly oil the shaft where it passes through
the chisel adaptor, and exercise/turn the shaft by hand to fully coat the two surfaces.
General Precautions Whilst Using a Drilling Machine
1. Use the chuck guard.
2. Do not operate the machine without carrying out a preliminary inspection.
3. Remember you only have 1 speed available.
4. Check the drill bit is the correct size and type, is correctly fitted and tightened in the chuck.
Do not overwork the machine, either by drill size or workrate.
5. Do not attempt to carry out any drilling operation on material that has not been secured to the
drill table, either by vice or clamp.
6. Remove any tools (chuck key, spanners etc), that may have been used in setting up
operations and put them away in their correct stowage positions.
7. Always allow the drill to stop before removing drillings or swarf from around the job or the
table.
8. NEVER remove 'flying' swarf strands from the drill whilst it is turning.
16
