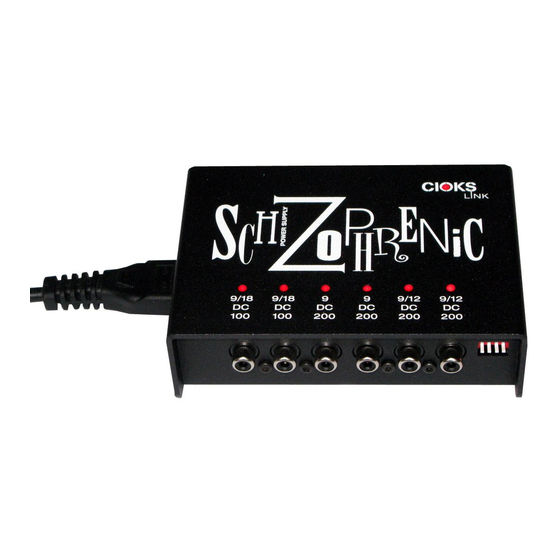
CIOKS Schizophrenic LINK Посібник - Сторінка 2
Переглянути онлайн або завантажити pdf Посібник для Джерело живлення CIOKS Schizophrenic LINK. CIOKS Schizophrenic LINK 9 сторінок. Attaching of cioks link range power supply to a pedaltrain pedal board

CIOKS LINK range power supplies underneath or on top of a Pedaltrain board.
What is included with a link range power supply?
With the power supply unit you get three screws, three spring washers, three stand-offs and a hex key. All
these parts shown below are in a little zip-bag included with the power supply in the black cardboard box.
Underneath a Pedaltrain pedal board
Following step-by-step guide shows how we mounted the Schizophrenic link power supply underneath a
Pedaltrain Junior PT-Jr pedal board. The procedure is exactly the same with the Big John link or AC Rider
link. When mounting the CIOKS/Eventide PowerFactor 2 you just need 4 instead of 3 sets of a screw, spring
washer and stand-off.
First attach the three stand-offs to the treaded holes in the bottom of the power supply as shown on the
pictures below. The spring washers should be placed between the power supply and the stand-offs. You
don't have to remove the rubber feet when mounting a link power supply underneath a Pedaltrain board.
Now place the power supply underneath the pedal board in the spot where you plan to attach it and
rethink whether the position you've chosen is ok. Now you're ready to make the holes. To drill the holes in
exactly the correct position it's a good idea to have a template. All the leaflets for the link range power
supplies can function as your template. The following two pictures show two of the five drill centre marks
on the text side of one of the leaflets (they are not very clear). If you don't have one of the leaflets you can
make your own template out of a piece of paper which is the same size as the power supply (130x88mm).
Place this piece of paper on the bottom of the unit and simply punch the holes positions out with a pen.
Page 2
