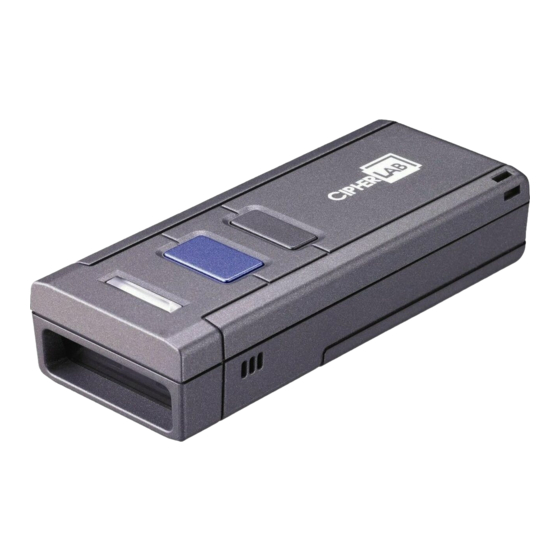
CipherLab 1661 Посібник із швидкого старту
Переглянути онлайн або завантажити pdf Посібник із швидкого старту для Зчитувач штрих-коду CipherLab 1661. CipherLab 1661 2 сторінки. Cordless scanner

1660/1661 Cordless
Scanner Quick Start Guide
Download the user manual CD contents using GoBetween, available at
http://ccs.cipherlab.com
.
Open Your Box
1660 Scanner —
1661 Scanner —
a
a
Barcode Scanner
Barcode Scanner
a
a
CipherLab dongle
CipherLab dongle
a
a
Setup Cards
Rechargeable Li-ion battery
a
a
Quick Start Guide
Direct USB Cable
a
Setup Cards
a
Quick Start Guide
LED Indicator
1661 only: Micro USB I/O Connector
Power/Delete Key
Trigger Key
Buzzer
Scan Window
Power on...
1660 Scanner
requires two AAA Alkaline batteries.
1661 Scanner
requires own rechargeable Li-ion battery.
Step 1:
Remove battery cover and insert battery or batteries.
Step 2:
Press the
Power/Delete
key for about 2 seconds.
The scanner will respond with a long beep (high) tone, and the LED light will
become solid red and go off quickly.
www.cipherlab.com
>
Live Mode
BT Connection —
By factory default, the scanner is set to use BT HID for connecting to PC or target device.
You may change to BT SPP if necessary. BT pairing is required for establishing a connection.
CipherLab Dongle —
You may use 3610 for a quick connection. All it takes is to scan the two barcode labels at
back of the dongle. No pairing is required. By factory default, the dongle is set to use USB
HID. You may change it to USB Virtual COM if necessary.
>> See setup card: 3a/4a
Authentication
By factory default, authentication is disabled on the scanner, meaning no PIN is required
unless a PIN code is displayed on the target device (see Random PIN).
Use Preset PIN
Preset PIN "0000" —
Scan the
Enable Authentication
barcode. By factory default, it is set to use "0000".
Preset PIN other than "0000" —
Step 1:
Scan the
Enable Authentication
barcode.
Step 2:
Scan the
Start numeric
,
and
End
barcodes.
Use Random PIN
While pairing, if you see a PIN code displayed on the target device, scan the
and
End
barcodes to input the same code.
>> See setup card: 2a/2b
>>
Set Connection
Serial Number
3610
Start numeric
,
Memory Mode
If real-time data collection is not desired, you may set the scanner to work in Memory Mode.
Then, upload data when you are done with data collection.
Step 1:
Scan the
Enable Memory Mode
barcode.
Any Live Mode connection will be suspended.
Step 2:
Scan data.
Step 3:
Scan the
Send Data
barcode. The scanner will resume Live Mode connection.
It will transmit data via preset BT interface or CipherLab dongle.
Step 4:
Scan the
Clear Data & Confirm
barcodes when you are done with data upload.
>> See setup card: 1a
1661 Only
If you're using 1661, you may connect the USB cable for data upload, as well as for battery
charging. It takes about 4 hours to fully charge the battery.
Step 1:
Scan the
Enable Memory Mode
barcode.
Step 2:
Scan data.
Step 3:
Connect the USB cable.
Step 4:
Scan the
Send Data
barcode when you are done with data collection.
Step 5:
Scan the
Clear Data & Confirm
barcodes when you are done with data upload.
Direct USB connection
for 1661 only
>> See setup card: 1a
>>>
