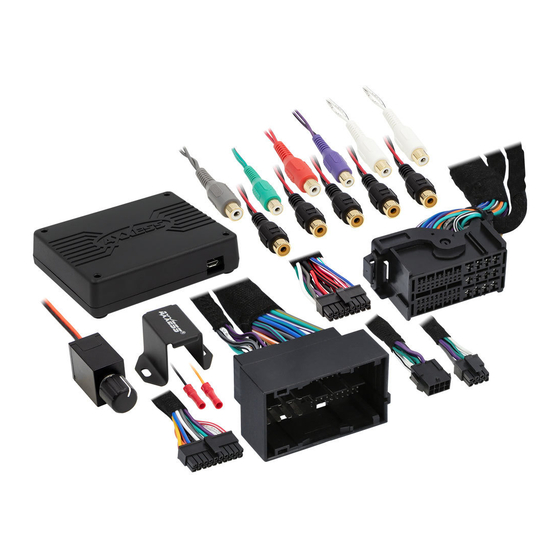
Axxess AXDSPX-CH5 Інструкція з монтажу Посібник з монтажу - Сторінка 2
Переглянути онлайн або завантажити pdf Інструкція з монтажу Посібник з монтажу для Автомобільні аксесуари Axxess AXDSPX-CH5. Axxess AXDSPX-CH5 16 сторінок. Chrysler dspinterface withpre-wired harness 2014-up

INSTALLATION OPTIONS
Adding a sub to a factory system:
This feature offers the ability to add a subwoofer to a factory system, whether amplified or non-
amplified. (refer to page 3)
Adding a full-range amp & sub to a factory system:
This feature offers the ability to add a full-range amp and sub to a factory system, whether
†
amplified
or non-amplified. (refer to page 4)
†
For amplified models the amp must be bypassed/unplugged, and With OE Amplifier chosen in
the Configuration tab under Vehicle Type. Use either Axxess AXABH-CH2 or AXABH-CH4 (sold
separately) to bypass the amp for best results.
Note: The interface provides a 12-volt 1-amp output to turn on aftermarket amp(s). If installing
multiple amps, an SPDT automotive relay will be required if the amp turn-on current of all amps
combined exceeds 1-amp. Use Metra part number E-123 (sold separately) for best results.
2
INSTALLATION
1. Remove the factory radio †, then unplug all connectors.
2. Install the AX-DSPX-CH5 vehicle T-harness to the vehicle and make all necessary
connections, but leave the amp turn-on wire disconnected.
Note: If installing a full range amp on the front and rear speakers, the resistor pad
harness must be used to present a load to the factory radio. Two are provided with
different value resistors. Use whichever one works and discard the other.
3. Plug the AX-DSPX-CH5 vehicle T-harness to the AX-DSPX-CH5 interface.
4. Plug the AX-DSPX-CH5 interface harness to the AX-DSPX-CH5 interface.
5. Download and install the AXDSP-X app from the Google Play Store or Apple App
Store.
6. Open the app then select the Bluetooth Connection tab. Follow the instructions to
pair the mobile device to the interface. Refer to page 6 for more information.
7. Scroll to the Configuration tab then select the vehicle type. Press the Lock Down ‡
button to save the configuration. Refer to page 7 for more information.
8. Connect the amp turn-on wire.
9. Adjust the settings in the app as desired. Press the Lock Down ‡ button to save any
new configurations.
† Refer to Metra online for dash disassembly. If Metra makes a dash kit for the vehicle,
disassembly will be within those instructions.
‡ Anytime the interface is locked down the key must be cycled off then back on
