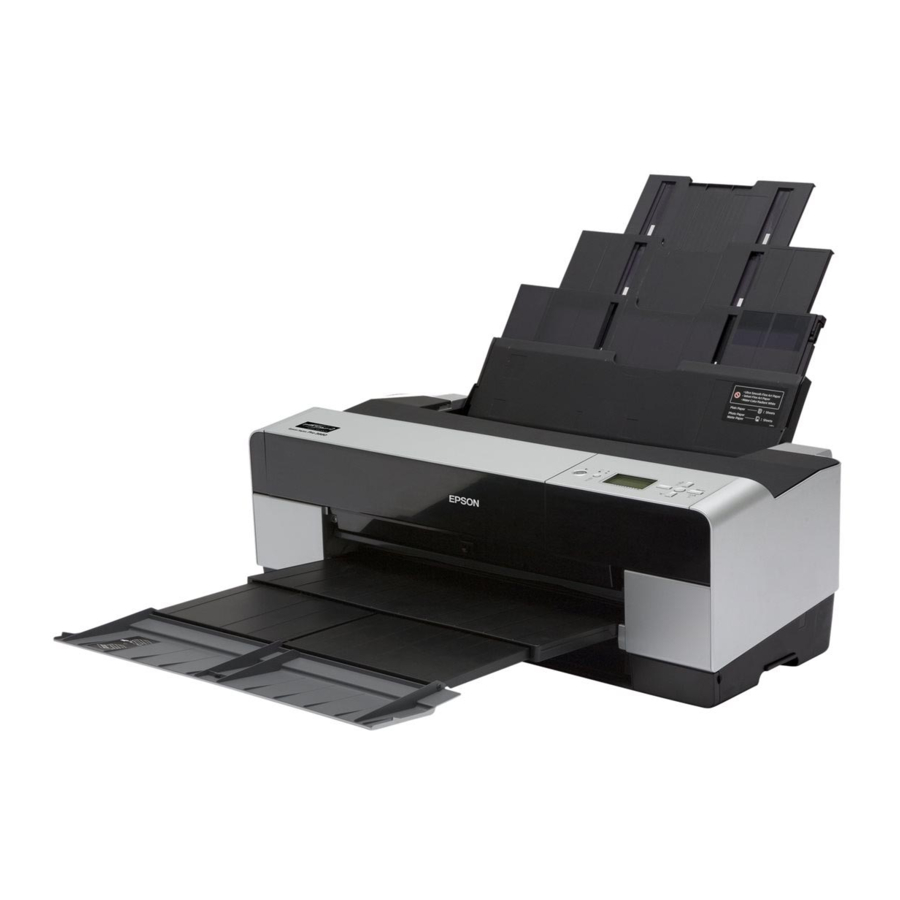
Epson 3800 - Stylus Pro Color Inkjet Printer Обмежена гарантія - Сторінка 7
Переглянути онлайн або завантажити pdf Обмежена гарантія для Принтер Epson 3800 - Stylus Pro Color Inkjet Printer. Epson 3800 - Stylus Pro Color Inkjet Printer 12 сторінок. Product brochure
Також для Epson 3800 - Stylus Pro Color Inkjet Printer: Посібник (49 сторінок), Початок роботи (13 сторінок), Посібник з монтажу (4 сторінок), Повідомлення (1 сторінок), Брошура (6 сторінок)

Repackaging and Transportation Instructions: To avoid permanently damaging the printer, it is
extremely important that you follow the instructions below when preparing to ship or transport
the printer. (Please refer also to the additional instructions in your Printer Guide.)
NOTES:
•
In case shipment of the printer for service becomes necessary, to prevent unrepairable
damage to the printer, the printer should be packaged in its original box and packaging
materials. If you do not have these items, you must contact Epson and Epson will supply
appropriate items for your shipment.
•
To prevent ink from spilling and damaging the printer during shipping or other transport,
the printer must be shipped or transported with ink cartridges installed. The printer is
equipped with a pressurized valve system that closes and seals all ink supply lines. In order
for this valve system to properly close, the ink cartridges must be installed and the ink bay
door needs to be closed. Empty cartridges can be used for transportation purposes.
INSTRUCTIONS:
1)
Turn on the printer.
2)
Remove any paper or other media in the printer.
3)
Make sure the ink cartridges are installed in the printer and the ink bay door is closed.
Note: If you have the original 80 ml cartridges that came with the printer (even if they are
empty), install them before shipping the printer. To store any partially used cartridges that
you take out before shipment, tape over the needle valve hole until you are ready to use the
cartridges again.
4)
Make sure the print head is in the home (far right) position.
5)
Turn off the printer and unplug the power cord. Install the carriage retainer bracket to secure
the print head in place.
