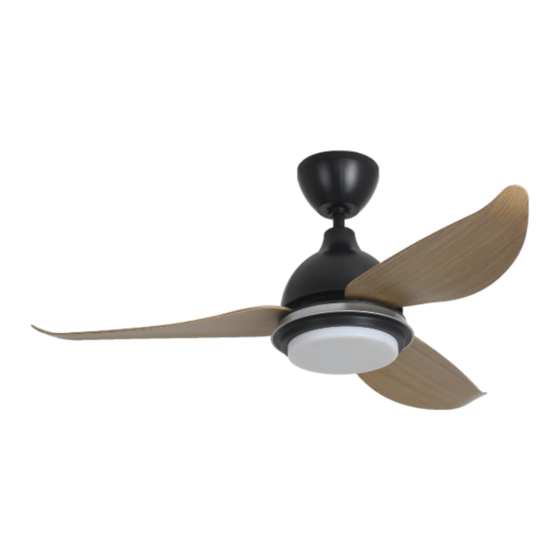
Fiamma RCF-GAVIA43-3BL Посібник користувача - Сторінка 4
Переглянути онлайн або завантажити pdf Посібник користувача для Вентилятор Fiamma RCF-GAVIA43-3BL. Fiamma RCF-GAVIA43-3BL 6 сторінок.

Step 3 (Safety Cable Installation)
1.
Remove the safety cable screw from the hanging tube coupling plat. (Diagram 1)
2.
Arrange the safety cable as above diagram 2 shown.
3.
Tighten the safety cable on the hanging tube with screws, (Diagram 3)
Langkah 3 (Pemasangan Dawai Keselamatan)
1.
Keluarkan skru dawai keselamatan dari plat penggantung rod besi.
2.
Susun dawai keselamatan seperti rajah 2 di atas yang ditunjukkan.
3.
Ketatkan dawai keselamatan pada rod besi dengan skru. (Rajah 3)
步骤 3 (安装安全钢丝绳)
1.
移开吊杆支架上的安全钢丝绳螺丝。(见图 1)
2.
如上图 2 所示,整理安全钢丝绳。
3.
用螺丝拧紧吊杆上的螺丝绳。(图 3)
WARNING / AMARAN / 警告
If the safety cable is not properly secured, it may cause injury
Jika dawai keselamatan tidak terjamin dengan betul, ia
boleh menyebabkan kecederaan jika kipas kipas siling jatuh.
如果没有正确地固定钢丝绳,当吊扇下坠是有可能会导致伤害。
if the ceiling fan falls.
Step 4 (See Diagram 4) – Electrical Wiring Connection
1.
Turn off the power supply before installing the ceiling fan.
2.
Use the two pieces of "lead wire connector" from the screw pack and connect them to the fan motor's
wire socket and then connect all 3 wires "Live, Neutral & Earth" to incoming power supply accordingly.
3.
Installation should be performed by a qualified electrician, and all wiring connections must be in
accordance with local national regulatory wire standards.
Langkah 4 (Rujuk Gambar 4) – Penyambungan Wayar Elektrik
1.
Matikan bekalan kuasa sebelum memasang kipas siling.
2.
Gunakan dua keeping "penyambung dawai" dari pek skru dan sambungkannya ke soket dawai kipas
motor, kemudian sambungkan semua 3 wayar "hidup, neutral dan bumi" ke bekalan kuasa dengan
sewajarnya.
3.
Pemasangan hendaklah dilakukan oleh juruelektrik yang berkelauankan, dan semua sambungan
pendawaian mesti mengikut piawaian dawai pengawalseliaan kebangsaan tempatan.
步骤 4(参见图 4) - 电线连接
1.
在安装吊扇之前请关闭电源。
2.
使用螺丝包中的两条"引线连接器"将它们连接到风扇电机的电线插座,然后将所有三条"火线,零线和地线"相应连接
接到电源。
3.
请通过获得电工资格的电工来安装,所有电线连接必须根据当地国家法规电线标准。
Refer the wiring diagram 4 below / Ikuti gambar 4 pendawaian di bawah / 按照以下布线图4 :-
Step 5 (See Diagram 5) – Installation of Top Canopy
1.
After securing all the wires (including the safety cables), place them neatly on the top of the top
canopy and slide the top canopy up until it reaches the top of the ceiling and tighten the screws of
the top canopy.
Langkah 5 (Rujuk Gambar 5) – Pemasangan sengkuap atas
1.
Setelah mengamankan semua wayar (termasuk kabel keselamatan), letakkannya dengan kemas di
bahagian atas sengkuap atas dan luncurkan sengkuap atas sehingga mencapai bahagian atas siling
dan ketatkan skru sengkuap atas.
步骤 5(参见图 5)- 安装吊盅
1.
在确保所有电线(包括安全电缆)后,将它们整齐地放在吊盅的顶部,并向上滑动吊盅直到它到达天花板顶部,
并锁紧吊盅装饰圈的螺丝。
Diagram 5 / Gambar 5 / 图 5
