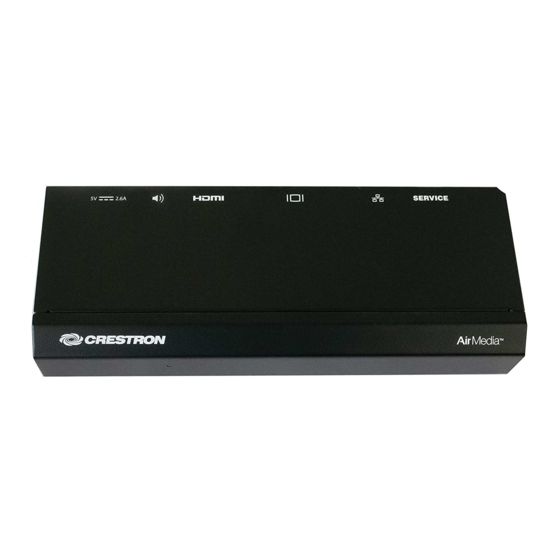
Crestron AirMedia AM-101 Посібник
Переглянути онлайн або завантажити pdf Посібник для Конференц-система Crestron AirMedia AM-101. Crestron AirMedia AM-101 2 сторінки. Presentation gateway
Також для Crestron AirMedia AM-101: Посібник із швидкого старту (2 сторінок)

DO
GUIDE
AM-101
AirMedia
Presentation Gateway
®
DO
Install the Device
The AM-101 can be mounted on a wall or placed onto a flat surface.
NOTE:
If wall mounting is not required, place the AM-101 on a flat, even surface.
Ensuring Proper Ventilation
The AM-101 should be used in a well-ventilated area. To prevent overheating, do not operate this
product in an area that exceeds the environmental temperature range for this product. Consider using
forced air ventilation to reduce overheating. Consideration must be given if the device is installed in a
closed or multiunit rack assembly, since the operating ambient temperature of the environment may be
greater than the room ambient temperature. Contact with thermal insulating materials should be avoided
on all sides of the unit.
Mounting to a Wall
The AM-101 can be mounted using the included wall-mount bracket. Refer to the following illustration for
installation instructions.
Attach the AM-101 to the
wall-mount bracket using
the two screws and washers
(included)
Wall-mount bracket
DO
Connect the Device
Make the necessary connections as called out in the illustration that follows. When making connections
to the AM-101, use Crestron
®
power supplies for Crestron equipment. Apply power after all connections
have been made.
LAN:
HDMI
®
OUT:
10BASE-T/100BASE-TX
To display's HDMI input
Ethernet to LAN
SERVICE:
VGA OUT:
AUDIO OUT:
Not used
To display's VGA input
To display's audio input
(use with AUDIO OUT)
(use with VGA OUT)
NOTE:
Typical installation uses only the HDMI
®
OUT or the VGA OUT-AUDIO OUT connection.
DO
Configure the Device
While the AM-101 can be used right out of the box, the device can be further customized with its web
interface. For details on configuring the AM-101, refer to the AM-101 Supplemental Guide (Doc. 7918) at
www.crestron.com/manuals.
DO
Share a Presentation
This section provides instructions on sharing a desktop on a display device. For instructions on remotely
viewing a shared desktop, refer to "DO View a Presentation Remotely."
Make all connections as described in "DO Connect the Device" above. The connected display device
shows the AM-101 welcome screen.
Mobile devices can share their content using the Crestron AirMedia app or the Crestron Pinpoint™
mobile app, which are available for iOS
sharing on devices running Android 5.0 Lollipop and above. Download the latest version of these apps
from the App Store
PC and Mac
computers (hereafter referred to as "computer") can download a client application from
®
the AM-101 that can be used to share a desktop. The computer should be able to access the AM-101
over the network.
1.
Open a web browser on the computer, and navigate to the web address or IP address
displayed on the top left of the AM-101 welcome screen. The download screen is displayed.
5V 2.6A:
From included power pack
2.
Click the Download icon for the computer's operating system to download the client
application. The client application requires no installation. The application can either be saved
and run locally, or be run from the Internet.
DO
Check the Box
QUANTITY
PRODUCT
1
Bracket, Wall Mount
1
Kit, Mounting Hardware
1
Power Pack, 5 Vdc
and Android™ devices. Both apps may be used for full screen
®
app in iTunes
software or from the Google Play™ store.
®
®
NOTE:
When used on a Mac, the AirMedia client application must be run from within the disk
image file. Do not drag the application out of the disk image file.
Share the Computer Desktop
Once the client application is downloaded, content can be shared.
1.
Run the client application. The Enter Code (Enter Passcode on Mac) screen is displayed.
Enter Code (L-R, Windows and Mac)
2.
Enter the code displayed on the AM-101 welcome screen and click OK (CONFIRM on Mac).
The client application establishes a connection between the computer and the AM-101 while
displaying the presentation control screen on the computer.
The contents of the computer screen are shown on the display connected to the AM-101.
Crestron AirMedia Controls (L-R, Windows and Mac)
3.
Direct the presentation with the following controls:
•
Click A to stop showing the computer's screen.
•
Click H to start showing the computer's screen.
•
Click b to freeze the computer's screen.
•
Hover over
to show a volume slider control and drag the slider to raise or lower the
volume. Click
to mute the audio output.
•
Click
to unmute the audio output.
•
Click Details for additional controls and information.
○
The Video Source control allows the user to select between the primary video
source and the extended video source.
○
The Screen Position control sets the position of displayed content on a remote
viewer's display.
○
The Remote View switch enables and disables remote viewing of presented
content.
○
Information about the connected user, the name of the receiver, the IP address, and
the access code are displayed.
○
Click X to close the client application and the connection between the computer and
the AM-101. On a Mac, click
to close the client application and the AM-101.
○
Click - to minimize the presentation control screen. On a Mac, click
the presentation control screen.
Other Functions
Click Details to control remote viewing and video performance. For details, refer to the AM-101
Supplemental Guide (Doc. 7918) at www.crestron.com/manuals.
PART NUMBER
2038249
2039564
2038069
to minimize
