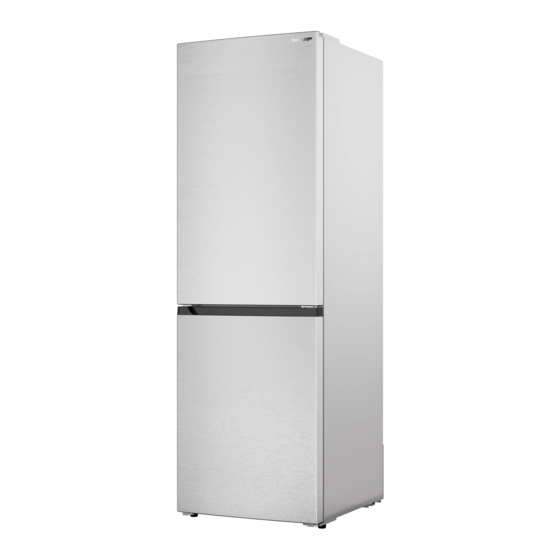
Sharp SJB1255GS Посібник з експлуатації та інструкція з монтажу - Сторінка 16
Переглянути онлайн або завантажити pdf Посібник з експлуатації та інструкція з монтажу для Холодильник Sharp SJB1255GS. Sharp SJB1255GS 17 сторінок.

TROUBLE SHOOTING
CAUTION
Before troubleshooting, disconnect the power supply. Only a qualified electrician of competent person must do the trouble shooting
that is not in this manual.
IMPORTANT! There are some sounds during normal use (compressor, refrigerant circulation).
PROBLEM
Appliance does not work
Appliance freezes or cools
too much
The food is not frozen enough
Heavy build up of frost on the
door seal
Unusual noise
Side panel is hot
If the malfunction shows again, contact the Sharp customer support (1-800-BE-SHARP) to dispatch a service technician.
Please record your model number and serial number below.
Model number ________________________________________________
Serial number _________________________________________________
SHARP ELECTRONICS CORPORATION • 100 Paragon Drive • Montvale, New Jersey 07645 • USA
POSSIBLE CAUSE
AC Cord is not plugged in or is loose
Fuse has blown or is defective
Electrical Outlet is defective
Temperature is set too cold or the appliance runs
at FREEZE BOOST modes
Temperature is not properly adjusted
A large quantity of warm food was placed in the
appliance within the last 24 hours
The appliance is near a heat source
Door seal in not airtight
Appliance is not level
The appliance is touching the wall or other objects Move the appliance slightly
A component, e.g. a pipe on the rear of the
appliance is touching another part of the appliance
or the wall
Condenser is inside the panel
Insert AC Cord
Check fuse, replace if necessary
Electrical outlet or circuit breaker malfunctions
are to be corrected by an electrician
Refer to the Temperature Setting section
Refer to the Temperature Setting section
Turn the temperature regulation to colder setting
temporarily
Refer to the Installation Location section
Carefully warm the leaking section of the door
seal with a hair dryer (on a cool setting). At the
same time, shape the warmed door seal by hand
such that it sits correctly.
Re-adjust the feet
If necessary, carefully bend the component out
of the way
It's normal
16
SOLUTION
