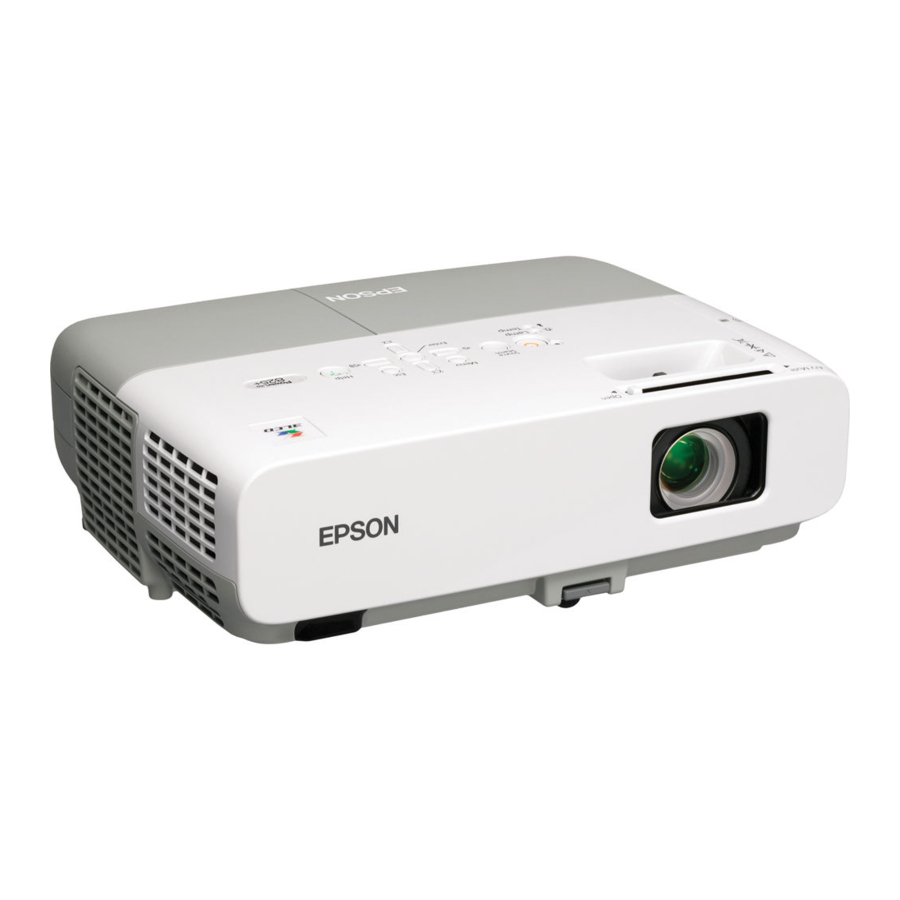
Epson 826W - PowerLite WXGA LCD Projector Посібник з монтажу - Сторінка 2
Переглянути онлайн або завантажити pdf Посібник з монтажу для Проектор Epson 826W - PowerLite WXGA LCD Projector. Epson 826W - PowerLite WXGA LCD Projector 10 сторінок. Epson powerlite 85/825/826w
Також для Epson 826W - PowerLite WXGA LCD Projector: Посібник користувача (42 сторінок), Технічні характеристики (6 сторінок), Посібник з експлуатації (47 сторінок), Швидке налаштування (4 сторінок), Посібник з швидкого налаштування (9 сторінок), Посібник користувача (1 сторінок), Технічні характеристики (2 сторінок), Бюлетень підтримки продукту (25 сторінок), Бюлетень підтримки продукту (12 сторінок), Посібник для початківців (9 сторінок), Декларація про відповідність (4 сторінок), Перелік деталей (1 сторінок), Бюлетень підтримки продукту (22 сторінок), Перелік деталей (1 сторінок), Бюлетень підтримки продукту (28 сторінок), Бюлетень підтримки продукту (41 сторінок), Бюлетень підтримки продукту (38 сторінок), Бюлетень підтримки продукту (28 сторінок), Бюлетень підтримки продукту (15 сторінок), Бюлетень підтримки продукту (22 сторінок), Посібник з монтажу (3 сторінок)

