Epson 826W - PowerLite WXGA LCD Projector Посібник з монтажу - Сторінка 9

Переглянути онлайн або завантажити pdf Посібник з монтажу для Проектор Epson 826W - PowerLite WXGA LCD Projector. Epson 826W - PowerLite WXGA LCD Projector 10 сторінок. Epson powerlite 85/825/826w
Також для Epson 826W - PowerLite WXGA LCD Projector: Посібник користувача (42 сторінок), Технічні характеристики (6 сторінок), Посібник з експлуатації (47 сторінок), Швидке налаштування (4 сторінок), Посібник з швидкого налаштування (9 сторінок), Посібник користувача (1 сторінок), Технічні характеристики (2 сторінок), Бюлетень підтримки продукту (25 сторінок), Бюлетень підтримки продукту (12 сторінок), Посібник для початківців (9 сторінок), Декларація про відповідність (4 сторінок), Перелік деталей (1 сторінок), Бюлетень підтримки продукту (22 сторінок), Перелік деталей (1 сторінок), Бюлетень підтримки продукту (28 сторінок), Бюлетень підтримки продукту (41 сторінок), Бюлетень підтримки продукту (38 сторінок), Бюлетень підтримки продукту (28 сторінок), Бюлетень підтримки продукту (15 сторінок), Бюлетень підтримки продукту (22 сторінок), Посібник з монтажу (3 сторінок)
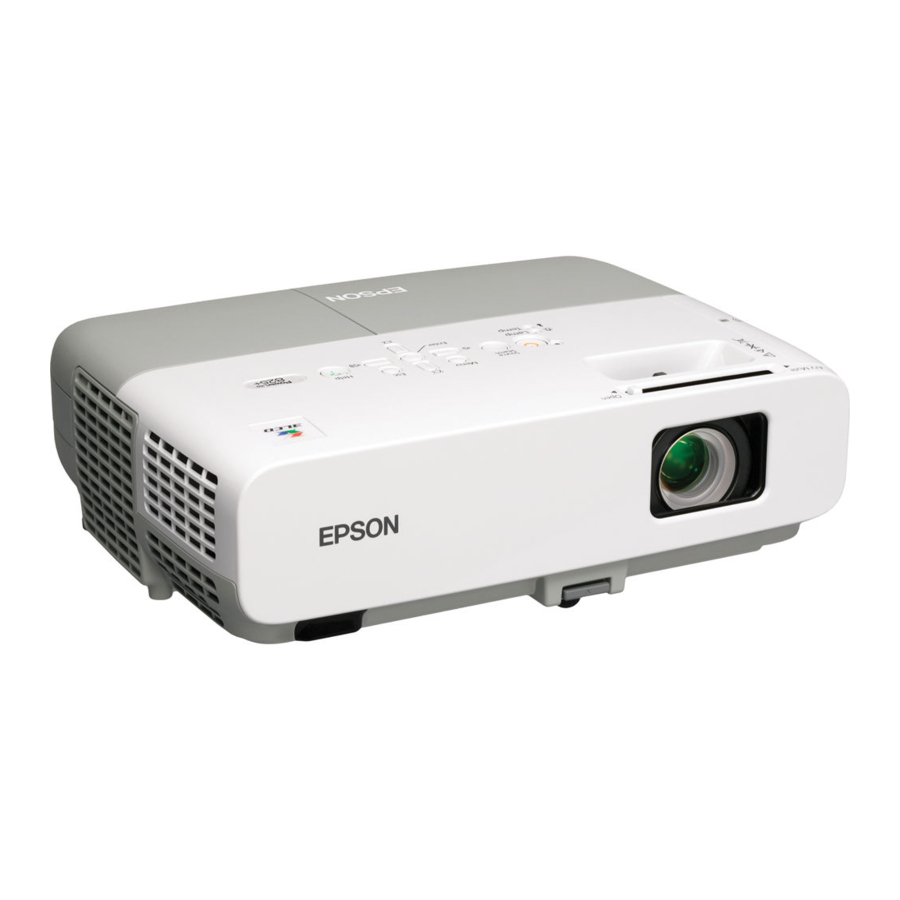
Epson 826W - PowerLite WXGA LCD Projector Посібник з монтажу
Epson PowerLite 85/825/826W

Highlighting Your Presentation

You can display a pointer to call out important information on the
screen. If you want to customize the pointer tool, you can choose from
three alternative shapes.

Using the Pointer Tool

1. To activate the pointer tool, press the
remote control. A pointer appears on the screen.
If you prefer to use a di erent style of pointer, see the instructions
in the next section.
2. Use the
pointer buttons on the remote control to position
the pointer on the screen.
3. When you're done using the pointer, press the
button to clear the screen.

Customizing the Pointer Tool

You can change the appearance of the pointer by choosing from three
alternative shapes.
1. Press the
button on the remote control, highlight the
Menu
menu, highlight
Settings
can select one of the pointer shapes shown at the left.
2. Select the shape you want and press
3. Highlight
and press
Return
4. Press
to exit from the menu system.
Menu
INSTALLATION HANDBOOK
button on the
Pointer
Pointer
Pointer
, and press
Pointer Shape
.
Enter
.
Enter
Remote Control Information
or
Esc
. You
Enter
9