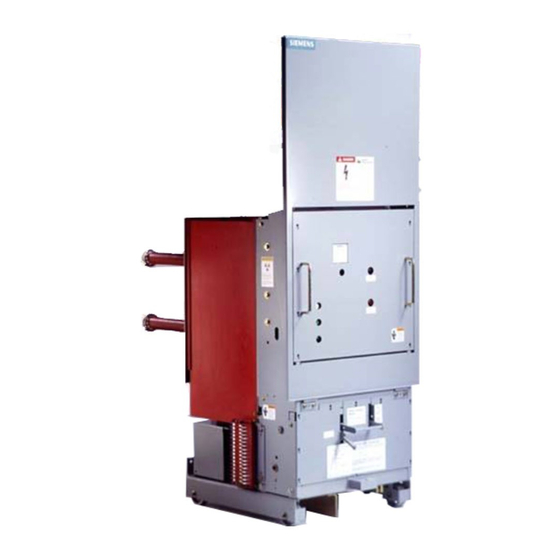
Siemens 15-FSV-750 Експлуатація та технічне обслуговування установки - Сторінка 33
Переглянути онлайн або завантажити pdf Експлуатація та технічне обслуговування установки для Перемикач Siemens 15-FSV-750. Siemens 15-FSV-750 48 сторінок. Vacuum circuit breakers fsv series and msv series

Interrupter/Operator
Maintenance
f)
•
•
•
Fig. 21b Primary Contact Closed - Free Position
A
Hazardous voltages and h i g h speed me
chanical parts can cause deat h , personal
injury and property damage.
Before starti n g any work, breaker should be
i s o l at e d , s h o r t c i rc u i t e d a n d g ro u n d e d .
Control power shou l d b e d i sconnected and
breaker c losed and opened by hand until
both s p r i n g s have been d i s c harge d .
1 . 2
Loosen the lateral bolt(s) on terminal clamp. 29 . 2 .
Refer t o f ig u re 23 a n d em ploy t h e i l l ustrated p roce
d u re to loosen clamp hardware. (8mm hex allen and
1 7mm socket)
1 . 3
Withdraw p i n , 4 8 . 5 , from i n su lati n g coupl er, 4 8 , and
leve rs , 4 8 . 6 .
1 . 4
Remove cou p l i n g p i n from the eye bolt, 3 6 . 3 .
1 . 5
Free struts, 28, from the u p per pole support, 20. Loosen
the strut hardware on the lower support, 40, and swing
the struts forward and downward . ( 1 7mm open end
and 1 7m m socket)
N OT E : Some breakers may emp loy fou r struts. The
ad d itional struts should also be freed from the u pper
pole s u p port, loosened at the lower pole support and
swu n g the struts rearward and downward.
1 . 6
Loosen screws faste n i n g the centering r i n g , 28 . 1 .
( 1 0mm open end)
WARNING
IV
•
•
Fig. 21c Primary Contact Forced Open by Manual
Pressure
1 . 7
Remove bolt " B ' : lockwasher and large washer at
stationary contact of the vac u u m i nterru pter. (24mm
socket) Carefu l ly note location of conductive spacers
between i n terru pter and pole s u p port, if i n c l u d e d .
1 . 8
Using a deep 24 mm socket loosen and remove hex
capscrew fasten i n g the upper pole s u p port to the
post i n s u lator. Co mp letely remove the upper pole
support and set aside.
1 . 9
G rasp the vac u u m interrupter and withd raw vertical ly.
Assistance may be required to work the terminal clamp
off the mova ble stem of the tube. F O R C I B L E TWIST
I N G EFFORT IS NOT ALLOW E D . If the terminal clamp
cannot be easily removed , STO P ' , check to be cer
tain hardware i s loose and the c l amp i s not bou n d .
2.
I n stal l i ng an I nterrupter
NOTE
Replacement i nterru pte r, 30, w i l l be received from t h e fac
tory with an eye bolt, 36.3, i n p l ace, adjusted and torqued
to specific req u i rements.
00
SETTING
2 . 1
I n s pect a l l s i lver plated connection surfaces for
c l ean l i ness. C lean only with a c l oth and solve nt. Do
not a b rai d .
2 . 2
I n sert i nterru pter, 30, i n t h e lower pole support, 4 0 ,
w i t h the evacuation n i p p l e ,
hou s i n g . Slip terminal clamp, 29 2 , i nto position on
the movable ste m .
Page 28
NO T AL TER THE ADAPTER
f c i n g t h e mechanism
R
