Cisco 7961 Посібник користувача - Сторінка 12

Переглянути онлайн або завантажити pdf Посібник користувача для IP-телефон Cisco 7961. Cisco 7961 17 сторінок. Multi-line ip phones
Також для Cisco 7961: Посібник користувача (19 сторінок), Посібник користувача (6 сторінок), Посібник користувача (6 сторінок), Посібник користувача (14 сторінок), Посібник користувача (6 сторінок), Посібник із швидкого старту (6 сторінок), Короткий довідник (2 сторінок), Короткий довідник (2 сторінок), Посібник із швидкого старту (21 сторінок), Посібник користувача (18 сторінок), Посібник користувача (4 сторінок), Короткий довідник (4 сторінок), Налаштування (11 сторінок), Короткий довідник (1 сторінок), Посібник користувача (2 сторінок), Посібник користувача (2 сторінок), Посібник користувача (2 сторінок), Посібник з експлуатації (3 сторінок), Лист (2 сторінок), Довідковий посібник (3 сторінок), Короткий довідник користувача (2 сторінок), Посібник із швидкого старту (2 сторінок)
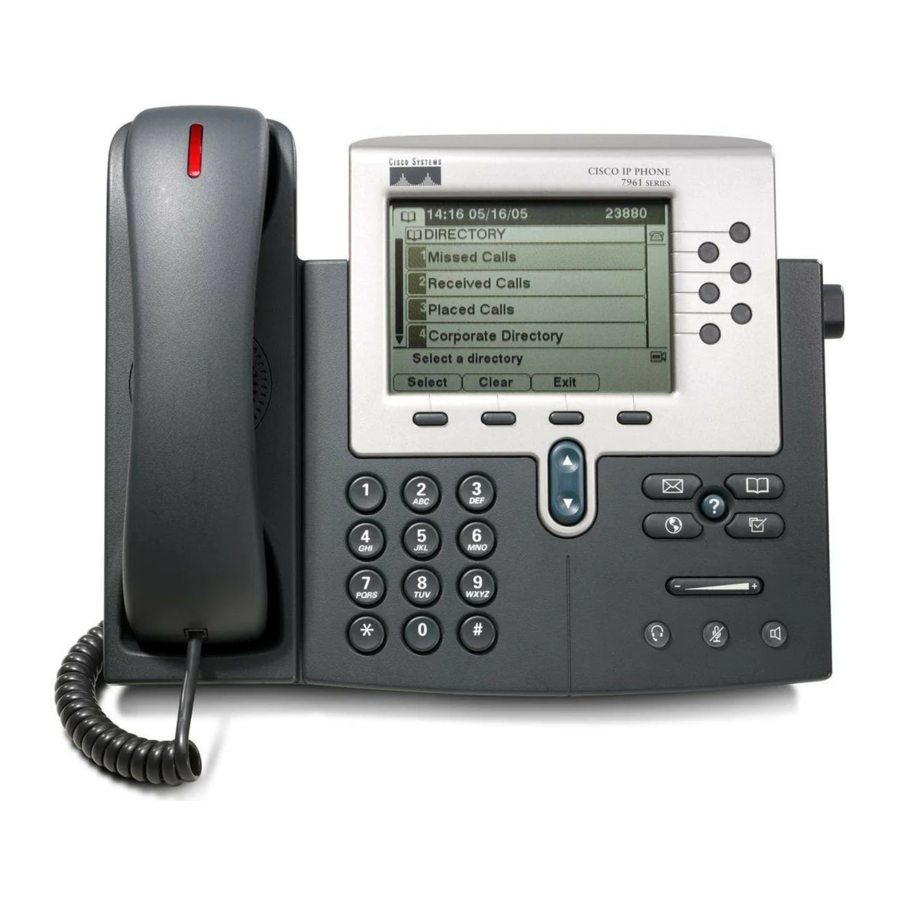
Cisco 7961 Посібник користувача
Automatic Call Distribution
Queues
The service can distribute incoming calls
arriving at a designated number to a defined
group of agent phones. To answer calls, a
user must be assigned to the queue by the
administrator and be logged in.
To Log Into an ACD Queue
Press the line button associated with the
desired queue, FeatureTel can assign
you to a queue.
When logged into a queue, the Queue
Name will disappear from the status line.
If enabled, the Display Queue Status
feature will indicate the number of calls
waiting in the queue on your phone
display (i.e. "Sales:3" indicates that 3
calls are waiting in the queue that most
recently routed calls to you.
To Answer an ACD Queue Call
When a Queue Call is routed to your
phone, the phone will ring and the
display will indicate an incoming call on
the line associated with the queue.
Press the line button associated with the
desired queue. If you simply lift the
handset, you will activate your primary
line, not the Queue line.
When finished with the Queue Call,
simply hang up the phone.
To Log Out of an ACD Queue
Press the line button associated with the
desired queue when there is no call
present on the line.
NOTE: ACD Queues are not supported on
SIP phones. Analog phones are limited to a
single queue.

Web Portal

Web Portal is an optional FeatureTel service
that allows you to configure your enhanced
phone and Voice Mail features.
Logging In to the Web Portal
Open your web browser to
http://wp.featuretel.com
Click Go
In the Phone Number field, enter your
complete telephone number. If your
phone is configured as an extension-only
phone (i.e., you have no DID number),
enter your company's complete main
telephone number followed by "x" and
your extension number.
FeatureTel Cisco 7941/7961 IP Phone User Guide
In the Password field, enter your
password.
If your PC is secure and you are the only
user, you can bypass the login process in
the future by checking the Remember Me
checkbox.
Click OK
Logging Out of the Web Portal
If you have not enabled Remember Me,
you can log out of the Web Portal by
clicking the Logout button or by simply
closing the browser window.
If you have enabled Remember Me and
want the system to remember you the
next time you access the web portal,
simply close the browser window.
If you have enabled Remember Me and
want the system to forget your
credentials and require the next person
to log in, click the Logout button.
Configuring the Web Portal
The first time you access your web portal,
you'll want to configure it for optimal use.
You need only configure the web portal once,
but can change the configuration at any time.
Click the Options tab
Click the Profile tab
Using the Home Page drop-down, select
which tab should be your default home
page.
In the Rows per Page field, enter the
number of rows of information you'd like
visible within each data table page (e.g.,
directories, call logs, Voice Mail etc.).
Enable the Click to Call checkbox to
allow click-to-dial functionality.
Enable the Launch VA at Startup
checkbox if you would like the Voice
Assistant to open automatically when you
log into the web portal.
In the CA Address 1 and CA Address 2
fields, enter the IP Addresses specified
by FeatureTel.
Click Submit
Page 10