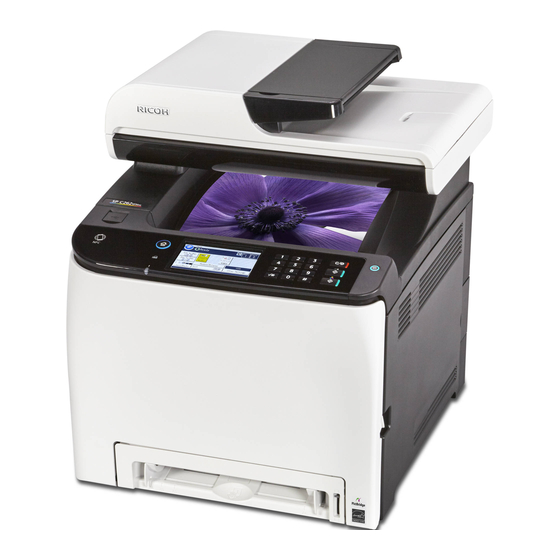
Ricoh SP C262SFNw Посібник з налаштування - Сторінка 13
Переглянути онлайн або завантажити pdf Посібник з налаштування для Принтер Ricoh SP C262SFNw. Ricoh SP C262SFNw 17 сторінок.

- 1. Setup Guide
- 2. Setting up the Machine
- 3. Installing the Software
- 4. Check How the Computer Is Connected
- 5. Connecting the Machine (Usb/Network)
- 6. Connecting the Machine Via Wi-Fi
- 7. Fax Settings
- 8. Selecting the Telephone Line Type and Telephone Network Connection Type
- 9. Setting the Outside Line Access Number
- 10. Basic Operation for Sending a Fax
- 11. Scan Settings
- 12. Control Panel Sheet
Selecting the Telephone Line Type and Telephone Network Connection Type
1.
Press [Setting].
2.
Press [Administrator Tools].
3.
If you are requested to enter a password, enter the
password using the number keys, and then press [OK].
A password for accessing the [Network Settings] menu can
be specified in [Admin. Tools Lock] under [Administrator Tools]
menu.
Setting the Outside Line Access Number
If you have selected PBX, use the following procedure.
1.
Press [Setting].
2.
Press [Administrator Tools].
Basic Operation for Sending a Fax
1.
Press [Fax].
2.
Enter the fax number using the number keys, and then
press [OK].
4.
Press [Dial/Push Phone].
5.
Press the telephone line type appropriate for your
telephone service.
6.
Press [PSTN / PBX].
7.
Press [PSTN] or [PBX].
8.
Press the [Home] key to return the initial screen.
3.
If you are requested to enter a password, enter the
password using the number keys, and then press [OK].
A password for accessing the [Network Settings] menu can
be specified in [Admin. Tools Lock] under [Administrator Tools]
menu.
4.
Press [PBX Access Number]
5.
Enter the outside line access number using the number
keys, and then press [OK].
6.
Press the [Home] key to return the initial screen.
3.
Press the [B&W Start] key.
Depending on the machine's settings, you may be prompted
to enter the fax number again if you manually entered the fax
number. Enter the fax number within 60 seconds. If the fax
numbers do not match, go back to step 2.
4.
If you place the original on the exposure glass and have
more originals to scan, press [Yes] within 60 seconds,
place the next original on the exposure glass, and then
press [OK].
Repeat this step until all originals are scanned.
5.
When all originals have been scanned, press [No] to start
sending the fax.
11
