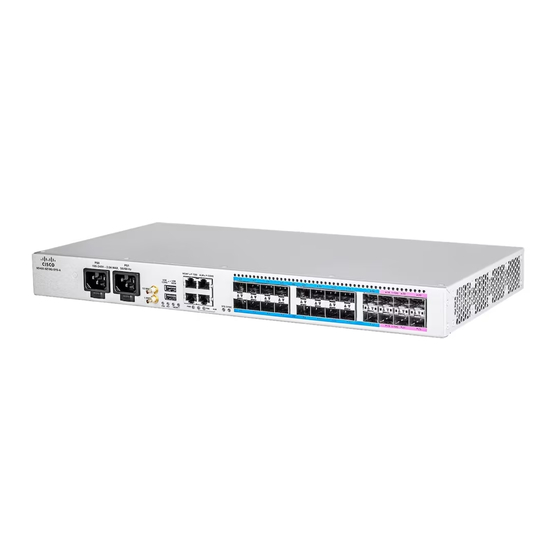
Cisco N540X-6Z18G-SYS-D Посібник - Сторінка 8
Переглянути онлайн або завантажити pdf Посібник для Мережевий маршрутизатор Cisco N540X-6Z18G-SYS-D. Cisco N540X-6Z18G-SYS-D 30 сторінок.
Також для Cisco N540X-6Z18G-SYS-D: Підготовка до встановлення (14 сторінок)

Install the N540-6Z18G-SYS-A/D router with Air Plenum
Figure 11: Installing Cable Management and ETSI Rack-Mount Brackets in the Middle
2. Install the router onto the 2-post rack as follows:
a. Lift and position the router into position between the two rack posts.
b. Move the router until the rack-mount brackets come in contact with the two rack posts.
c. Hold the chassis at level and have another while the second person inserts two screws 12-24 in each
d. Tighten the 12-24 screws to 30 in-lb (3.39 N.m).
Install the N540-6Z18G-SYS-A/D router with Air Plenum
Note
Plenum Assembly on ETSI Rack
1. Remove the screws on the sides of the chassis, according to your mounting option:
Install the Device
8
of the two rack-mount brackets (using a total of four screws) and into the cage nuts or threaded holes
in the vertical rack-mounting rails.
Air plenum is only applicable for Cisco N540-6Z18G-SYS-A/D router.
• To front mount the chassis, remove four screws on the right side of the chassis. The "F" highlighted
screws.
• To mid mount the chassis, remove six screws on the left side of the chassis. The "F" and "R"
highlighted screws.
Install the Device
