DigitaLinx DL-HDM88A-H2 Посібник зі швидкого встановлення - Сторінка 5
Переглянути онлайн або завантажити pdf Посібник зі швидкого встановлення для Перемикач DigitaLinx DL-HDM88A-H2. DigitaLinx DL-HDM88A-H2 8 сторінок. Crestron home driver
Також для DigitaLinx DL-HDM88A-H2: Встановлення драйверів (3 сторінок)

DL-HDM88A-H2 Quick Guide
Connectivity Instructions
1. Verify all components included with the switcher are present before installation.
2. If the switcher is going to be permanently mounted in a rack, attach the supplied rack ears to the
sides of the DL-HDM88A-H2 matrix.
Note: The matrix requires one rack unit (1 RU) of space. It is recommended that you leave an
empty rack space above and below the DL-HDM88A-H2 for additional cooling.
3. Turn off power and disconnect the audio/video equipment by following the manufacturer's
instructions.
4. Connect the source devices to the HDMI inputs using HDMI cables that are less than or equal to 1.5
meters in length for 4k/60Hz signals. For source devices that are further away, it is highly recommended
to install an extender such as the Digitalinx DL-HD70, DL-HDE100 or DL-HD2100.
5. Connect the display devices to HDMI outputs using HDMI cables that are less than or equal to 1.5
meters in length for 4k/60Hz signals. For display devices that are further away, it is highly recommended
to install an extender such as the Digitalinx DL-HD70, DL-HDE100 or DL-HD2100.
6. If IR extension is required, connect the TRS 3.5 mm plug IR RX to the matrix IR EXT port, ensuring
the IR receiver eye is placed in clear view of the handset used to control.
7. Insert the matrix power supply included and switch on power located on the front panel. Check
that the front panel LED screen is on to indicate the matrix is ready for use.
8. Power on attached audio/video devices.
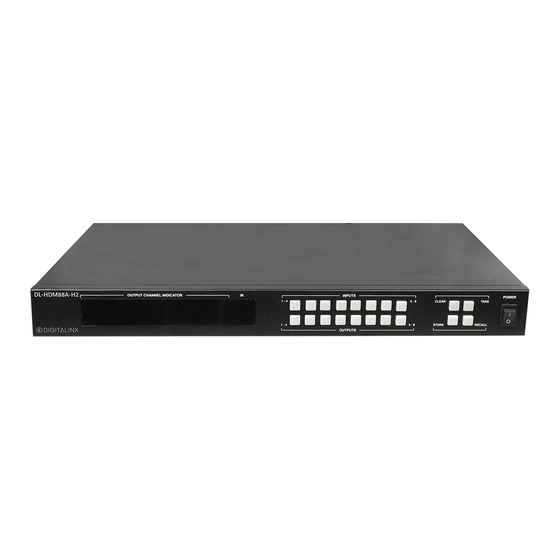
9. Switch between sources and displays using the matrix front panel buttons, IR remote control, serial
RS232, or LAN. To set a route using the front panel of the DL-HDM88A-H2, press the desired Input
button (Source) and desired Output button (Display), then press Take.
5
