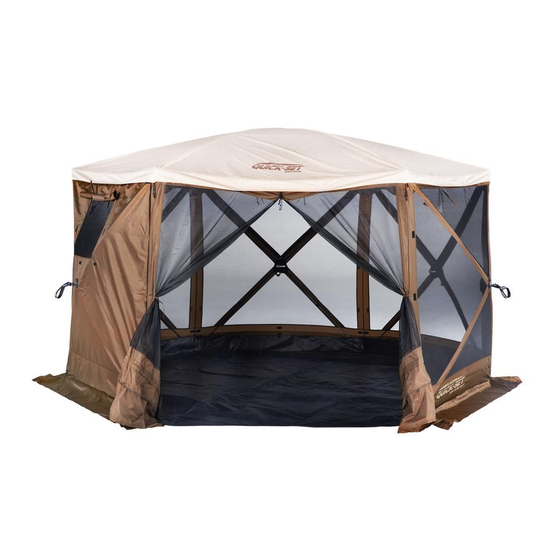
Cabela's 109863 Посібник - Сторінка 5
Переглянути онлайн або завантажити pdf Посібник для Намет Cabela's 109863. Cabela's 109863 8 сторінок. Screen tent

Step 7 (optional): Insert the vertical rods on either side of
the screen tent's door. Install ends into the pockets at the
top and bottom of each side of the doorway. It is
recommended to use these if any wind is present. (Photos 6)
Step 8: Install securing stakes on the tent. The stakes are
designed to be used on the inside grommets or the outside
tie downs. If there is little to no wind, stakes may be used in
the eyelet in each corner of the screen tent. Place the tip of
the stake on the inside of the eyelet and drive it into the
ground so the hook catches the eyelet and holds the tent in
place.
If wind is present you must use the outside tie downs.
Secure the tent by tying one end of the provided strings on
each metal loop on the outside of the hub and staking the
other end. (Photo 8)
Using the built in Wind Panels:
Locate the tie strings mounted on each end of the wind
panels. Untie and let the panel fall down. Locate the hub
strap on the center of the wall and pull it through the
grommet on the wind panel. Zip down the zippers located on
each side of the wind panels. Finish with securing the Velcro
tabs on the outside of the zipper. To store the wind panels,
simply detach the Velcro tabs and unzip the wind panels.
Roll the panel back up and tie with tie strings.
Using the Awning Feature:
To use the awning feature on your screen tent, unzip the
zippers on each side of the attached wind panels. Install the
fiberglass pole into the pockets on each end of the lower,
bottom side of the wind panel. Using the aluminum poles
with the pins located at the top, install the pins through the
grommets at each corner. You can now attach a tie string
from the webbed loop at the corner of the wind panel and
run it to a stake approximately 3 ft out from the edge of the
awning. (Photos 8 & 9)
Photo 6
Photo 5
Photo 8
Photo 9
