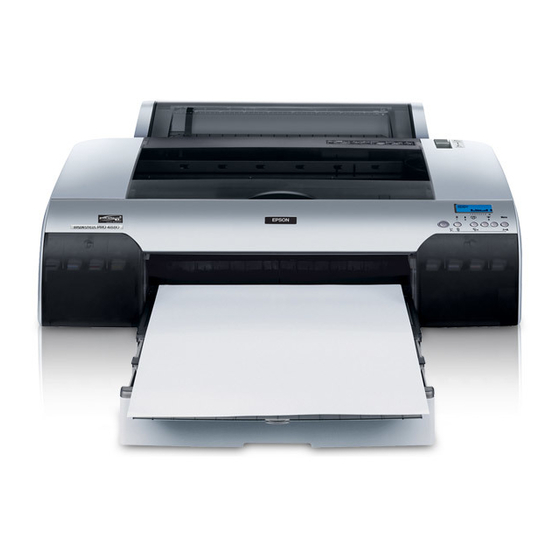
Epson Stylus Pro 4880
9. Push down on the side pin while turning the latch to the
left.
10. Close the top cover after you have finished replacing the
cutter blade. The print head moves to the home position.
Replacing the Maintenance Tank
The maintenance tank stores ink that gets flushed from the
system during manual and automatic print head cleaning.
When the tank is almost full, the message
appears on the LCD panel. When the tank is completely
FULL
full, the printer stops working and
on the LCD.
You can check how much space remains in the maintenance
tank by viewing its indicator on the control panel, as shown
below. You can also check its status by printing a nozzle check
sheet (see page 8).
Replacement tanks are available from Epson (part number
C12C890191).
Note: You can purchase replacement items for your printer from
an Epson Professional Imaging authorized reseller. To find the
nearest reseller, visit www.proimaging.epson.com (U.S. sales)
or www.epson.ca (Canadian sales). Or call 800-GO-EPSON
(800-463-7766). Or you can purchase online at
www.proimaging.epson.com (U.S. sales) or www.epson.ca
(Canadian sales).
12
MNT TK NEAR
appears
MNT TNK FULL
Maintenance tank indicator
Follow these steps to replace the tank:
1. Make sure the printer is not printing or performing any
other operations (
the control panel).
2. If you are using 220 ml ink cartridges, remove the four
cartridges from the right ink compartment, then close the
compartment cover.
3. Place your hand under the right ink compartment and
gently pull out the maintenance tank.
Caution: Be careful not to spill ink from the maintenance tank
when removing it. Hold it upright at all times.
4. Place the used tank in the plastic bag included with the new
tank, and dispose of it carefully.
5. Insert the new tank.
6. If you removed any ink cartridges, replace them after
inserting the new maintenance tank.
12/07
or
should appear on
READY
PAPER OUT

