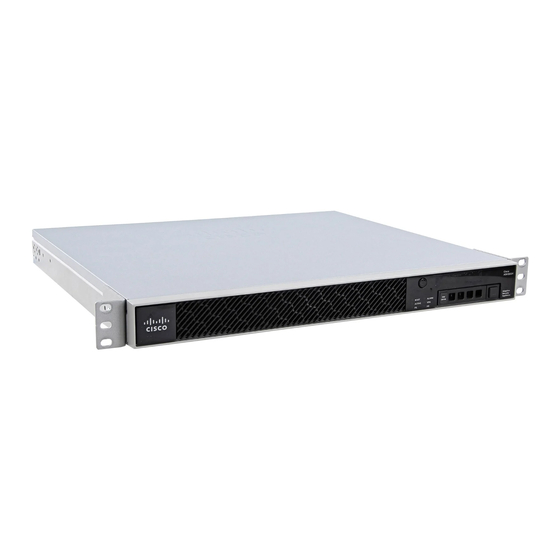
Cisco Firepower Threat Defense for the ASA 5506-X Series Using Firepower Device Manager Quick Start Guide
Before You Begin
Ensure that you connect a data interface to your gateway device, for example, a cable modem or router. For edge
deployments, this would be your Internet-facing gateway. For data center deployments, this would be a
back-bone router. Use the default "outside" interface identified in
Network, page
3.
Then, connect your management computer to one of the other data ports, which are part of the inside bridge
group. Alternatively, you can connect to the Management physical interface.
The Management physical interface does not need to be connected to a network. By default, the system obtains
system licensing and database and other updates through the data interfaces, typically the outside interface, that
connect to the Internet. If you instead want to use a separate management network, you can connect the
Management interface to a network and configure a separate management gateway after you complete initial
setup.
Procedure
1.
Open a browser and log into Firepower Device Manager. Assuming you did not go through initial configuration
in the CLI, open Firepower Device Manager at https://ip-address, where the address is one of the following:
—
(Version 6.2 and greater) If you are connected to an inside bridge group interface: https://192.168.1.1.
—
(Version 6.1) If you are connected to the Management physical interface: https://192.168.45.45.
2.
Log in with the username admin, password Admin123.
3.
If this is the first time logging into the system, and you did not use the CLI setup wizard, you are prompted to
read and accept the End User License Agreement and change the admin password. You must complete these
steps to continue.
4.
Configure the following options for the outside and management interfaces and click Next.
Note:
Your settings are deployed to the device when you click Next. The interface will be named "outside"
and it will be added to the "outside_zone" security zone. Ensure that your settings are correct.
a.
Outside Interface—This is the data port that you connected to your gateway mode or router. You cannot
select an alternative outside interface during initial device setup. The first data interface is the default
outside interface.
Configure IPv4—The IPv4 address for the outside interface. You can use DHCP or manually enter a static
IP address, subnet mask, and gateway. You can also select Off to not configure an IPv4 address.
Configure IPv6—The IPv6 address for the outside interface. You can use DHCP or manually enter a static
IP address, prefix, and gateway. You can also select Off to not configure an IPv6 address.
b.
Management Interface
DNS Servers—The DNS server for the system's management address. Enter one or more addresses of DNS
servers for name resolution. The default is the OpenDNS public DNS servers. If you edit the fields and want
to return to the default, click Use OpenDNS to reload the appropriate IP addresses into the fields.
Firewall Hostname—The hostname for the system's management address.
Note:
When you configure the Firepower Threat Defense device using the device setup wizard, the system
provides two default access rules for outbound and inbound traffic. You can go back and edit these access
rules after initial setup.
5.
Configure the system time settings and click Next.
a.
Time Zone—Select the time zone for the system.
b.
NTP Time Server—Select whether to use the default NTP servers or to manually enter the addresses of
your NTP servers. You can add multiple servers to provide backups.
6. Launch Firepower Device Manager
4. Deploy the Firepower Threat Defense in Your
8

