Cisco ASA 5506-X Посібник з встановлення обладнання - Сторінка 19

Переглянути онлайн або завантажити pdf Посібник з встановлення обладнання для Мережеве обладнання Cisco ASA 5506-X. Cisco ASA 5506-X 26 сторінок. Threat defense reimage guide
Також для Cisco ASA 5506-X: Посібник із швидкого старту (10 сторінок), Посібник із швидкого старту (14 сторінок), Посібник з простого налаштування (11 сторінок), Посібник з програмного забезпечення (37 сторінок), Встановлення та підключення (12 сторінок), Посібник з монтажу (46 сторінок), Встановіть шасі (10 сторінок)
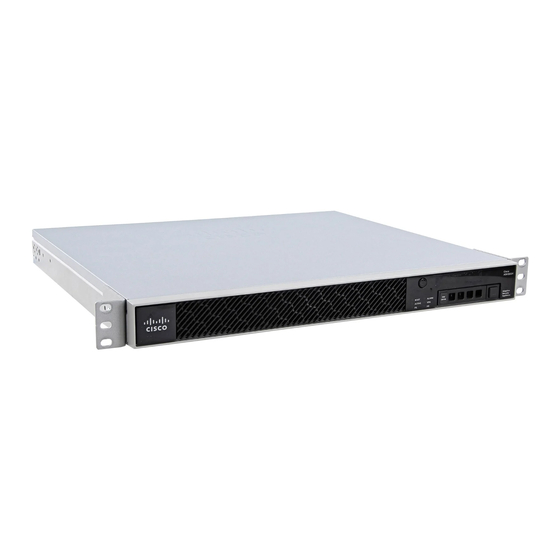
Cisco ASA 5506-X Посібник з встановлення обладнання

Mount and Connect the ASA

This section describes positioning or mounting the ASA, and connecting its cords and cables. It contains the
following sections:

Mount the ASA

This section describes how to mount the ASA, and contains the following topics:
Do not remove the rubber feet included with the ASA because they are needed for proper cooling for all
Note
mounting orientations.

Desktop Mount the ASA

You can mount the ASA on a desktop by placing it on a desk in a horizontal position. Make sure there are no
blockages or obstructions within one inch of the top of the ASA or within .5 inch of the sides and back, so
that nothing interferes with cooling. Do not remove the rubber feet included with the ASA. They are also
needed for proper cooling.

Wall Mount the ASA

Follow these steps to mount your ASA on a wall.
Step 1
Choose a location on the desired wall for the ASA.
Step 2
Use the two Cisco-provided screws and anchors.
Online Only
Mount the ASA, page 15
Connect Cables, Turn on Power, and Verify Connectivity, page 18
Connect to a Console Terminal or PC, page 19
3
C H A P T E R
Cisco ASA 5506-X Hardware Installation Guide
15