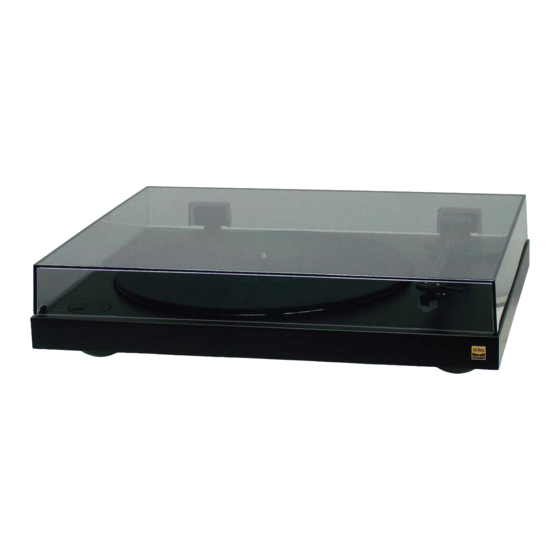
Sony PS-HX500 Посібник з експлуатації - Сторінка 5
Переглянути онлайн або завантажити pdf Посібник з експлуатації для Стереосистема Sony PS-HX500. Sony PS-HX500 26 сторінок. Stereo turntable system
Також для Sony PS-HX500: Інструкція з експлуатації Посібник з експлуатації (28 сторінок)

ADJUSTING THE TONE ARM BAL-
ANCE
Adjust the tone arm balance to keep the
tone arm horizontally balanced (zero
balance) so that proper stylus pressure is
exerted on the vinyl record.
1
Remove the stylus protective cover.
Stylus protective
cover
Note
Remove the stylus protective cover with care
so as not to damage the stylus.
2
Make sure that the gauge number
"0" on the anti-skating knob is
aligned with the reference line.
Anti-skating Knob
3
Attach the counterweight onto the
back of the tone arm.
Slightly push in the counterweight and
rotate in the direction of the arrow until
the face of the gauge ring comes close
to the white line on the tone arm.
Counterweight
White line
Tip
You can rotate the counterweight clockwise to
move it outward or counterclockwise (in the
direction of the black arrow above) to move it
inward.
4
Unlock the tone arm lock and raise
the tone arm from the tone arm
rest.
Tone arm lock
5
Rotate the counterweight clockwise
or counterclockwise until the tone
arm is horizontally balanced.
You may find it easier to adjust the tone
arm balance that you rotate the
counterweight a little at a time and take
your hands off to see if the tone arm is
horizontally balanced.
Note
Keep the tip of the stylus untouched with the
rubber mat or the platter while adjusting the
tone arm balance.
6
Put the tone arm back onto the tone
arm rest.
PS-HX500
ADJUSTING THE STYLUS PRES-
SURE AND THE ANTI-SKATING
FORCE
Once the tone arm is horizontally balanced,
adjust the stylus pressure and the anti-
skating force.
1
Rotate only the gauge ring on the
counterweight to bring the gauge
number "0" on the ring into
alignment with the white line on the
tone arm.
Gauge ring
Note
Do not rotate the counterweight along with
the gauge ring.
2
Rotate the counterweight
counterclockwise to bring the gauge
number "3" on the gauge ring into
alignment with the white line on the
tone arm.
Tip
An appropriate stylus pressure value is
recommended for every cartridge. To protect
the stylus and the record against damage,
adjust the stylus pressure to the recommended
value. On your turntable, set the stylus
pressure to "3."
3
Rotate the anti-skating knob to
bring the gauge number "3" into
alignment with the reference line.
Tip
The anti-skating adjustment is required to
apply proper anti-skating force that cancels
out the inward force produced by the
spinning platter while a vinyl record is being
played.
You need to set the anti-skating force to the
same value as the stylus pressure you set in
step 2.
5
