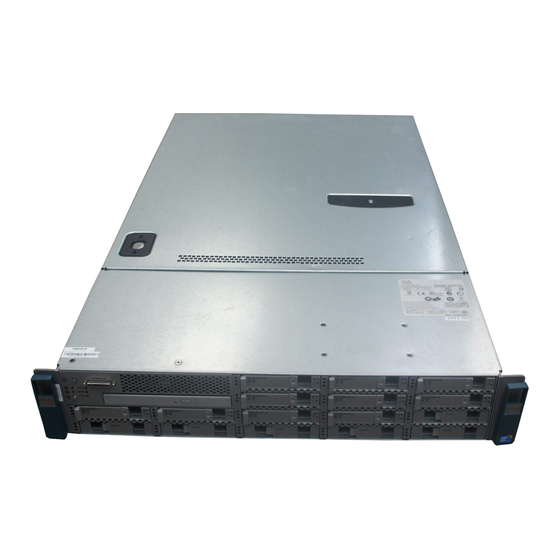
Cisco UCS C Series Посібник з встановлення - Сторінка 13
Переглянути онлайн або завантажити pdf Посібник з встановлення для Сервер Cisco UCS C Series. Cisco UCS C Series 19 сторінок. Security manager 4.3
Також для Cisco UCS C Series: Поради щодо усунення несправностей (11 сторінок), Посібник з оновлення (11 сторінок), Посібник з оновлення (10 сторінок), Посібник із швидкого старту (12 сторінок), Налаштування (10 сторінок)

Installing the Server
Step 2
Plug your management Ethernet cable into the dedicated management port on the rear panel.
Step 3
Allow your preconfigured DHCP server to assign an IP address to the server node.
Step 4
Use the assigned IP address to access and log in to the Cisco IMC for the server node. Consult with your DHCP server
administrator to determine the IP address.
The default user name for the server is admin. The default password is password.
Note
Step 5
From the Cisco IMC Server Summary page, click Launch KVM Console. A separate KVM console window opens.
Step 6
From the Cisco IMC Summary page, click Power Cycle Server. The system reboots.
Step 7
Select the KVM console window.
Note
The KVM console window must be the active window for the following keyboard actions to work.
Step 8
When prompted, press F8 to enter the Cisco IMC Configuration Utility. This utility opens in the KVM console window.
Note
The first time that you enter the Cisco IMC Configuration Utility, you are prompted to change the default
password. The default password is password. The Strong Password feature is enabled.
The following are the requirements for Strong Password:
• The password can have minimum 8 characters; maximum 14 characters.
• The password must not contain the user's name.
• The password must contain characters from three of the following four categories:
• English uppercase letters (A through Z)
• English lowercase letters (a through z)
• Base 10 digits (0 through 9)
• Non-alphabetic characters !, @, #, $, %, ^, &, *, -, _, =, "
Step 9
Continue with
Setting Up the System With the Cisco IMC Configuration Utility, on page
Setting Up the System With the Cisco IMC Configuration Utility
Before you begin
The following procedure is performed after you connect to the system and open the Cisco IMC Configuration
Utility.
Step 1
Set the NIC mode to choose which ports to use to access Cisco IMC for server management:
• Shared LOM EXT (default)—This is the shared LOM extended mode, the factory-default setting. With this mode,
the Shared LOM and Cisco Card interfaces are both enabled. You must select the default Active-Active NIC
redundancy setting in the following step.
In this NIC mode, DHCP replies are returned to both the shared LOM ports and the Cisco card ports. If the system
determines that the Cisco card connection is not getting its IP address from a Cisco UCS Manager system because
Setting Up the System With the Cisco IMC Configuration Utility
13.
Installing the Server
13
