B3 innovations Pico Посібник - Сторінка 7
Переглянути онлайн або завантажити pdf Посібник для 3D-принтери B3 innovations Pico. B3 innovations Pico 12 сторінок.
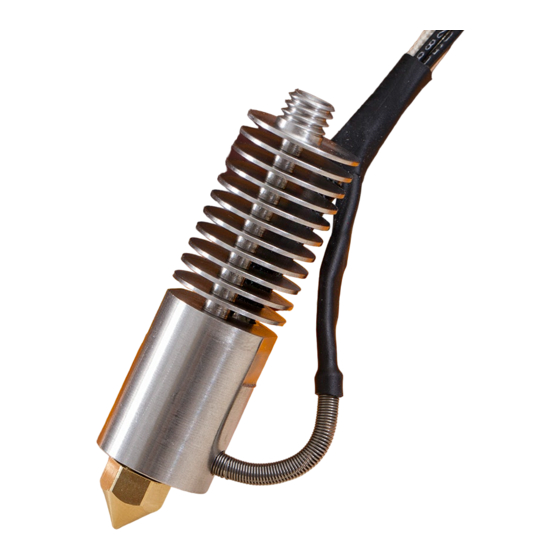
After filament has been retracted or removed, use a
13mm open-end wrench/spanner on Pico body flats
and a 7mm shallow socket head and ratchet or driver
on the brass nozzle counter-clockwise.
Inserting Brass Nozzle Brass nozzle is designed
n
to sit slightly below the nozzle shoulder and Pico hot-
end bottom. A small allowance gap is present, allowing
the seat and compression to occur at the 45 degree
chamfer inside Pico.
Do noT overTIghTen the nozzle as this may damage soft
brass compression fitting surface and threads causing leakage.
To insert a nozzle, make sure threads and compression
surfaces of both Pico hot-end and brass nozzle are
clean (See: Maintenance— Cleaning Threads).
Use a 13mm open-end wrench on Pico body flats and
a 7mm shallow socket head and ratchet or driver on
the brass nozzle to turn clockwise to a snug fit.
Thermistor Replacement
Removing Thermistor Assembly Be sure your
n
printer is powered down and Pico is cool to the touch.
Disconnect the thermistor wires leading into your
printer's electronics.
Carefully cut and remove the supplementary heat shrink
strain relief securing the thermistor wires to the heater
wires.
Grasp the spring as close to the Pico body as
possible and gently unscrew the thermistor spring
counterclockwise until it is free.
Pico User Guide
5