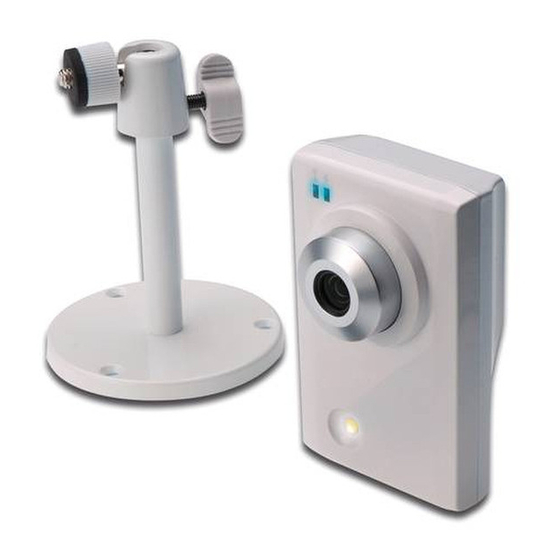
Digitus DN-16062 Посібник з монтажу - Сторінка 13
Переглянути онлайн або завантажити pdf Посібник з монтажу для Камера спостереження Digitus DN-16062. Digitus DN-16062 17 сторінок. Hd network

For Static IP:
a) Enter the information of "Server IP", "Gateway" and "Net Mask" obtained from your ISP (Internet
Service Provider).
b) Enter the port number. The valid number ranges from 1 to 9999. The default value is 80. Typically,
the TCP port used by HTTP is 80. However in some cases, it is better to change this port number for
added flexibility or security.
c) Click "Save" to save your network configurations, and log out.
d) Disconnect your camera and your PC, and connect them to Internet separately. Then, enter the IP
address or host name you just note down in the URL address box of the web browser, and see if you
can access the camera successfully.
For PPPOE:
a) Enter the user name and password obtained from your ISP, and click "Save".
b) Continue the DDNS setting as instructed in "3.4.3 DDNS Setting".
For DHCP:
a) Before selecting this option, you need to finish the DHCP router settings first.
Get a router and connect it to the Internet via your PC (with Static IP or PPPoE setting). There are
different setting methods for different routers. Please refer to their respective user manuals.
b) Continue the DDNS setting as instructed in "3.4.3 DDNS Setting".
3.4.3 DDNS setting
Step1:
Click "Network" "DDNS", and check "DDNS Enable".
Step2:
Select the host name you applied for a DDNS service in "System Name"
(ex. dyndns).
Note:
You need to create a DDNS account from a website which provides free DDNS
service. For details, please refer to "Fehler! Verweisquelle konnte nicht
gefunden werden." at page 12.
Select the system name you set when subscribing the DDNS service from
the drop-down list, for example, dyndns.
Enter the user name & password you used to log into the DDNS service.
Then, enter the host name you set when subscribing the DDNS service,
for example, headoffice523.
Step3:
Click "Save" and log out. Then, disconnect your camera and your PC, and connect
them to Internet separately.
Step4:
Enter the host name you just note down in the URL address box of the web browser,
and see if you can access the camera successfully.
13
