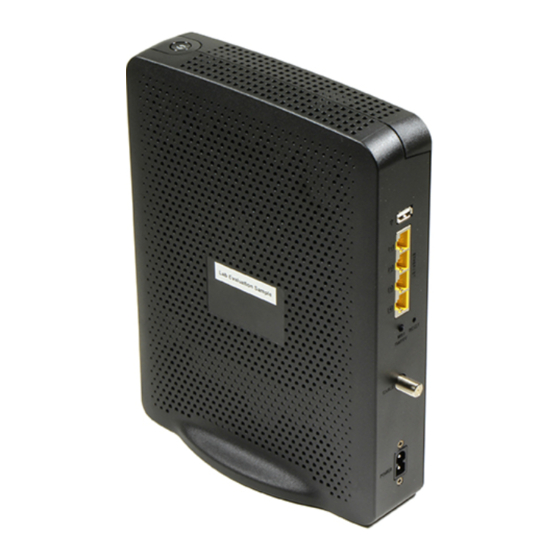
Cisco DPC3848 Посібник - Сторінка 8
Переглянути онлайн або завантажити pdf Посібник для Шлюз Cisco DPC3848. Cisco DPC3848 35 сторінок. Cogeco wireless internet modem
Також для Cisco DPC3848: Посібник користувача (50 сторінок), Інструкція по встановленню та активації (2 сторінок)

- 1. Wireless Tab / Wireless Security
- 2. Security Tab - Firewall
- 3. Applications & Gaming Tab / Port Range Forwarding
- 4. Applications & Gaming Tab / DMZ
- 5. Administration Tab - Management
- 6. Administration Tab / Diagnostics
- 7. Administration Tab - Factory Defaults
- 8. Status Tab / Gateway
- 9. Status Tab - Local Network
- 10. Status Tab - Wireless
Wireless Network: You can enable or disable wireless network with this radio button.
Wireless Configuration: The default is Manual. Select Wi-Fi Protected Setup to set up your network using this option. The Wi-Fi Protected Setup feature automatically configures an encryption-
secured, wireless network. To use Wi-Fi Protected Setup, you must have at least one other device that supports Wi-Fi Protected Setup in your network. After you have configured your Wi-Fi
Protected Setup devices, you can manually configure other devices. Scroll down to the end of the help page for more information.
Network Mode: Determines which Mode the N card will run in.
Radio Band: You can select the radio band.If you select Enabled 2.4GHz, the device can support B/G/N Mixed mode.And if you select Enabled 5GHz,it can support A/N mixed mode.
Channel Width: You can select the channel bandwidth manually for Wireless-N connections. For best performance in a network using Wireless-N, Wireless-G, and Wireless-B devices, keep the
Wide - 40MHz Channel. Wireless-N connections will use the 40 MHz channel, while Wireless-G and Wireless-B will still use the 20 MHz channel. For Wireless-G and Wireless-B networking only,
select Standard - 20MHz Channel. Then only the 20 MHz channel will be used.
Standard Channel: If you selected Wide - 40 MHz Channel for the Radio Band setting, then the appropriate Standard Channel setting will be automatically selected, depending on the Wide
Channel setting. If you selected Standard - 20 MHz Channel as the Radio Band setting, select the appropriate channel from the list provided to correspond with your network settings. All devices
in your wireless network must broadcast on the same channel in order to communicate.
Wide Channel: If you selected Wide - 40MHz Channel for the Radio Band setting, then this setting will be available for your primary Wireless-N channel. Select any channel from the drop-down
menu, and then the appropriate Standard Channel setting will be automatically selected.
Wireless Network Name (SSID): You may choose an easy remember name for your wireless network or simply use the default value. The value you enter here will be viewable on PCs and other
wireless client devices as the wireless network name.
Wireless SSID Broadcast: If this feature is enabled, wireless clients will detect the SSID broadcast by the device when they survey the local area for wireless networks to join. To broadcast the
devices SSID, keep the default setting, Enable. If you do not want to broadcast the devices SSID, then select Disable.
Wi-Fi Protected Setup Option 1: An administrator can push the Wi-Fi Protected Setup button on the Basic Wireless Settings screen or the button on the front panel of the Gateway to allow a user
to register a wireless client with the Gateway. The user needs to push the Wi-Fi Protected Setup software button on the client side at the same time as the Wi-Fi Protected Setup button is pushed
on the Gateway. The connection will be automatically set up.
Wi-Fi Protected Setup Option 2: This is the most secure option for an administrator to register a user's wireless client with the Gateway. The user needs to give the administrator their Wi-Fi
Protected Setup PIN number, which is found in the client Wi-Fi Protected Setup utility. After entering the client's Wi-Fi Protected Setup PIN number, the administrator registers the user. The user
can then connect to the Gateway.
Wi-Fi Protected Setup Option 3: The Gateway's Wi-Fi Protected Setup PIN number is on the label on its bottom panel. Using any Wi-Fi Protected Setup client utility or Microsoft Vista, the user
needs to enter the Gateway's Wi-Fi Protected Setup PIN number into the client device.
