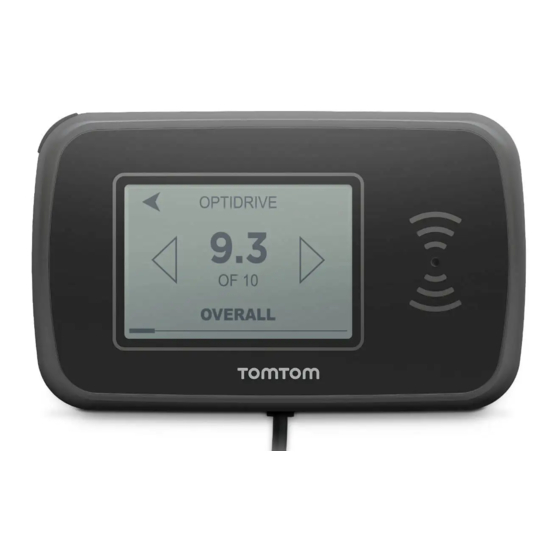
TomTom PRO 2020 Посібник з монтажу - Сторінка 8
Переглянути онлайн або завантажити pdf Посібник з монтажу для Автомобільна навігаційна система TomTom PRO 2020. TomTom PRO 2020 19 сторінок. Compact driver terminal with a 2.5 inch touch screen
Також для TomTom PRO 2020: Посібник користувача (27 сторінок)

Wiring the PRO 2020
Connect the PRO 2020 to the vehicle power supply with the standard vehicle voltage (12 V/24 V)
and to the TomTom LINK 510 device installed in your vehicle. The three wires DAT, GND and
PWR+ (supply voltage) must be connected.
Prerequisites
For a successful installation of the PRO 2020 you need a TomTom LINK 510 installed in your
vehicle, that has the firmware version 8.0 or higher and a WEBFLEET ECO subscription or higher
assigned.
Make sure you have read the safety instructions and you have found the right place to mount your
PRO 2020. Ensure that after installation neither the device nor any wires can interfere with and
safety relevant functions or may cause any other danger.
Wiring
Important: Follow the order of connecting the wires as described below. Please also refer to the
TomTom LINK installation guide to avoid any errors or damages during installation.
1. Connect the GND wire (brown) to ground (clamp 31).
2. Connect the PWR+ wire (red) to the carry current (clamp 30).
The connection must be fused with max. 10A. If not, fuse the the PWR+ wire with one 2A fast
blow fuse.
3. Connect the DAT wire (green/white) to the OUT wire (green/white) of the IO cable for TomTom
LINK 510.
4. Insert the IO cable into the IO cable connector of the TomTom LINK 510.
5. Tap the screen of your PRO 2020 or press the Display On/Off button to check for correct
power wiring.
If you can see the main menu, the wiring was successful.
If the PRO 2020 device still shows that it is trying to connect or that the connection has failed,
check the wiring again. If this does not help please refer to our Customer
8
Support
team.
