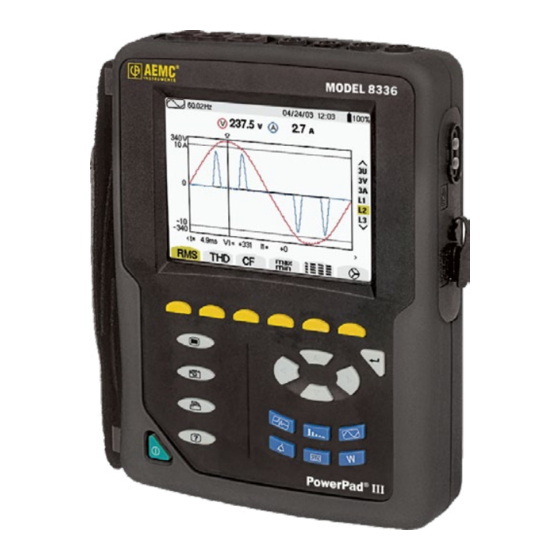
AEMC instruments Measure Up PowerPad III Посібник із швидкого старту - Сторінка 6
Переглянути онлайн або завантажити pdf Посібник із швидкого старту для Вимірювальні прилади AEMC instruments Measure Up PowerPad III. AEMC instruments Measure Up PowerPad III 17 сторінок. Power quality analyzer

Charging the Battery
Fully charge the battery before the first use.
NOTE:
A full recharge of a completely discharged battery takes approximately 5 hr.
?
Button Functions
BUTTON
Returns to previous menu.
Configures the PowerPad
Takes a snapshot of the current screen or access screens already stored in the
memory.
Records associated waveform and power measurement data.
Gets help on the current display functions, in the language chosen by the user.
Transients or Inrush Current:
• Sets and views transient and inrush current waveforms associated with rapid
changes in input
Harmonics Mode:
• Displays the harmonics in percent and value ratios for voltage, current and
power for each harmonic through the 50th
• Determines harmonic current produced by non-linear loads
• Analyzes the problems caused by harmonics according to their order
(heating of neutrals, conductors, motors, etc.)
Waveforms Mode:
• Displays voltage and current waveforms or vector representation
• Identifies signal distortion signatures
• Displays of amplitude and phase unbalance for voltage and current
• Checks connections for correct phase order
Alarm Events:
• Provides a list of the alarms recorded according to the thresholds
programmed during configuration
• Logs interruption with half-cycle resolution
• Determines energy consumption exceedances
• Stores value, duration, date, time and set point for up to 4096 events
Trend Mode:
• Lists all recording trends and views them on the display
(Urms, Vrms, Arms, etc.)
To recharge the battery:
120V ± 10%, 60Hz
230V ± 10%, 50Hz
• Remove the cover of the battery
• Connect the supplied power cord
• The
DESCRIPTION
(SET-UP).
®
charging connector.
to the instrument and AC power.
button lights and will
go out when the power cord is
disconnected.
