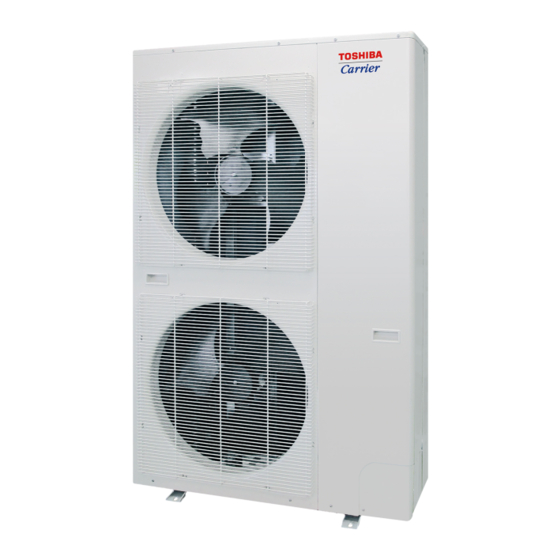
Toshiba Carrier MCY-MAP0607HS-UL Посібник з монтажу - Сторінка 5
Переглянути онлайн або завантажити pdf Посібник з монтажу для Кондиціонер Toshiba Carrier MCY-MAP0607HS-UL. Toshiba Carrier MCY-MAP0607HS-UL 30 сторінок. Outdoor unit

4
Installation Conditions
Before installation
Follow these steps prior to installation.
Airtight test
1
Before starting an airtight test, further tighten the spindle valves on the gas and liquid sides.
2
Pressurize the pipe with nitrogen gas charged from the service port to the design pressure to conduct an
airtight test.
3
After the airtight test is complete, evacuate the nitrogen gas.
Air purge
• To purge air, use a vacuum pump.
• Do not use refrigerant charged in the outdoor unit to purge air. (The air purge refrigerant is not contained in the
outdoor unit.)
Electrical wiring
Be sure to fix the power wires, indoor / outdoor connecting wires and remote control wires with clamps so that they do
not come into contact with the cabinet, etc.
Grounding
WARNING
Make sure that proper grounding is provided.
Improper grounding may cause an electric shock. For details on how to check grounding, contact the dealer who
installed the air conditioner.
• Proper grounding can prevent charging of electricity on the outdoor unit surface due to the presence of a high
frequency in the frequency converter (inverter) of the outdoor unit, as well as prevent electric shock. If the outdoor
unit is not properly grounded you may be exposed to an electric shock.
• Be sure to connect the ground wire (grounding work).
Incomplete grounding can cause an electric shock.
Do not connect ground wires to gas pipes, water pipes, lightning rods or ground wires for telephone wires.
Test run
Turn on the leakage breaker at least 12 hours before starting a test run to protect the compressor.
CAUTION
Incorrect installation work may result in a malfunction or complaints from customers.
EN-7
Installation location
WARNING
Install the outdoor unit properly in a location that is durable enough to support the outdoor unit's weight.
Insufficient durability may cause the outdoor unit to fall, which may result in injury.
This outdoor unit has a weight of about 311 lbs (141 kg). Pay special attention when installing the unit onto a wall
surface.
CAUTION
Do not install the outdoor unit in a location that is subject to combustible gas leaks.
Accumulation of combustible gas around the outdoor unit may cause a fire.
Install the outdoor unit in a location that meets the following conditions after the customer's consent is
obtained.
• A well-ventilated location free from obstacles near the air intake and air discharge
• A location that is not exposed to rain or direct sunlight
• A location that does not increase the operating noise or vibration of the outdoor unit
• A location that does not produce any drainage problems from discharged water
Do not install the outdoor unit in the following locations.
• A location with a saline atmosphere (coastal area) or one that is full of sulfide gas (hot-spring area) (Special
maintenance is required.)
• A location subject to oil, vapor, oily smoke, or corrosive gases
• A location in which organic solvent is used
• Places where iron or other metal dust is present. If iron or other metal dust adheres to or collects on the interior of
the air conditioner, it may spontaneously combust and start a fire.
• A location where high-frequency equipment (including inverter equipment, private power generator, medical
equipment, and communication equipment) is used
(Installation in such a location may cause malfunction of the air conditioner, abnormal control or problems due to
noise from such equipment.)
• A location in which the outdoor unit's discharged air blows against the window of a neighboring house
• A location where the outdoor unit's operating noise is transmitted
• When the outdoor unit is installed in an elevated position, be sure to secure its fixing leg.
• A location where drain water does not negatively impact the area and neighbors.
• Places with poor ventilation.
When collectively draining discharged water completely, use a drain pan.
– 4 –
Installation Manual
EN-8
