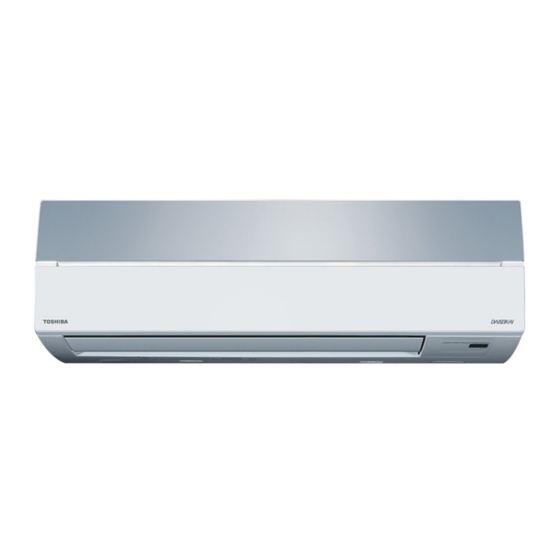
Toshiba Carrier RAS-09 Посібник з монтажу - Сторінка 14
Переглянути онлайн або завантажити pdf Посібник з монтажу для Кондиціонер Toshiba Carrier RAS-09. Toshiba Carrier RAS-09 14 сторінок. Split type
Також для Toshiba Carrier RAS-09: Посібник користувача (4 сторінок)

CAUTION
• 5 IMPORTANT POINTS FOR PIPING WORK.
(1) Take away dust and moisture (inside of the connecting pipes).
(2) Tighten the connections (between pipes and unit).
(3) Evacuate the air in the connecting pipes using a VACUUM PUMP.
(4) Check gas leak (connected points).
(5) Be sure to fully open the packed valves before operation.
• UNIT DAMAGE HAZARD
Failure to follow this caution may result in equipment damage or
improper operation.
Never use the system compressor as a vacuum pump.
Packed valve handling precautions
• Open the valve stem all the way out, but do not try to open it beyond the
stopper.
Pipe size of Packed Valve
1/2 in. (12.7 mm and smallers)
Gas Leak Test
Check the fl are nut
connections for the
gas leak with a gas
leak detector or
soap water.
Check places for
the outdoor unit.
Test Operation
To switch the TEST RUN (COOL) mode, press RESET button for 10 seconds.
(The beeper will make a short beep.)
RESET button
1110251291-1 EN.indd 12
1110251291-1 EN.indd 12
Size of Hexagon wrench
A = 3/16 in. (4 mm)
OTHERS
OTHERS
Valve cover
Check places with
fl are nut connections
(indoor unit)
RESET
• Securely tighten the valve cap with torque in the following table:
Cap
Cap Size (H)
43/64 in. - 3/4 in.
(H17 - H19)
Valve Rod Cap
55/64 in. - 1-3/16 in.
(H22 - H30)
35/64 in.
(H14)
Service Port Cap
43/64 in.
(H17)
Service Port Cap
Valve Rod Cap
Auto Restart Setting
This product is designed so that after a power failure it can restart
automatically in the same operating mode as before the power failure.
Information
The product was shipped with Auto Restart function in the ON position.
Turn it OFF if this function is not required.
How to cancel the Auto Restart
1. Press and hold the RESET button on the indoor unit for 3 seconds to
cancel the operation. (3 beeps will sound but OPERATION lamp does not
blink)
2. Press and hold the RESET button on the indoor unit for 3 seconds to set
the operation. (3 beeps will sound and OPERATION lamp blink 5 time/
sec for 5 seconds)
• Do not operate ON timer and OFF timer.
Note : Default setting of auto restart operation is ON.
Troubleshooting (Check Point)
The unit does not operate.
• The power main switch is
turned off.
• The circuit breaker is tripped.
• ON timer is set.
12
Torque
10 to 13 Ibf.ft
(14~18 N·m)
24 to 31 Ibf.ft
(33~42 N·m)
37 to 46 Ibf.ft
(50~62 N·m)
10 to 13 Ibf.ft
(14~18 N·m)
Hexagon wrench
is required.
A
H
Cooling or Heating is abnormally low.
• The fi lters are blocked with dust.
• The temperature has been set
improperly.
• Windows or doors are open.
• The air inlet or outlet of the outdoor
unit is blocked.
• The fan speed is too low.
• The operation mode is FAN or DRY.
11/13/13 2:52 PM
11/13/13 2:52 PM
