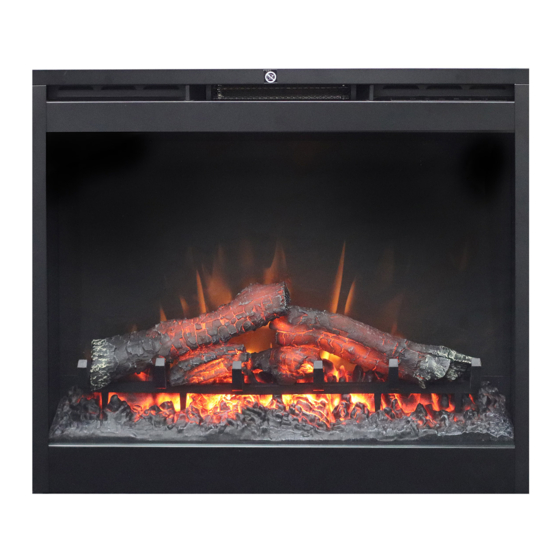
Dimplex BF9000 Посібник користувача - Сторінка 8
Переглянути онлайн або завантажити pdf Посібник користувача для Внутрішній камін Dimplex BF9000. Dimplex BF9000 19 сторінок. Dimplex
Також для Dimplex BF9000: Посібник з експлуатації (17 сторінок), Посібник користувача (19 сторінок), Посібник користувача (20 сторінок), Посібник з усунення несправностей (2 сторінок), Посібник з експлуатації (18 сторінок)

Fireplace Installation
New Wall Construction
1. Mark the desired location on
the floor and store the fire-
place in a safe, dry and dust
free location.
2. Use studs to frame an open-
ing of 24 ½ in. (622 mm) wide
X 18 ¼ in. (463.6 mm) high
X 8 ⅞ in. (225.5 mm) deep.
(Figure 1)
!
NOTE: On elevated
installations, the bottom edge
and 1/2" (12.7) up either side will
be easily visible after installation
(Figure 2). This area should
be finished in a manner that is
visually appealing and does not
restrict air flow to the unit.
Option #1 - The power cord can
be lead from behind the trim
and along the wall to an outlet
near the fireplace.
Option #2 - A new outlet can be
Figure 2
Feet
8
Opening
Visible Edges
installed inside the new frame
construction. Plug the unit into
a 15 Amp/120 Volt outlet.
!
NOTE: A 15 Amp, 120 Volt
circuit is required. A dedicated
circuit is preferred but not es-
sential in all cases. A dedi-
cated circuit will be required
if, after installation, the circuit
breaker trips or fuse blows
on a regular basis when the
heater is operating. Additional
appliances on the same circuit
may exceed the current rating
of the circuit breaker.
Option #3 - Hardwire
1. Wire a dedicated, properly
fused circuit with 120 Volt,
Amp rating. Allow up to 8 feet
of service cable for connect-
ing power supply to junction
box on fireplace when install-
ing after finishing wall.
CAUTION: Use two conduc-
tor, non-metallic sheath cable
with ground wire (3 wires total)
for the incoming power supply on
fireplace inserts. Use appropriate
wire to meet local and national
electrical codes for rated power
consumption.
2. Remove the outer jacket and
strip the individual conductor
15
www.dimplex.com
