Epson PowerLite 825 Посібник з швидкого налаштування - Сторінка 7

Переглянути онлайн або завантажити pdf Посібник з швидкого налаштування для Програмне забезпечення Epson PowerLite 825. Epson PowerLite 825 9 сторінок. Epson powerlite 85/825/826w
Також для Epson PowerLite 825: Посібник користувача (42 сторінок), Посібник з експлуатації (47 сторінок), Посібник користувача (1 сторінок), Технічні характеристики (2 сторінок), Бюлетень підтримки продукту (25 сторінок), Бюлетень підтримки продукту (12 сторінок), Посібник для початківців (9 сторінок), Декларація про відповідність (4 сторінок), Перелік деталей (1 сторінок), Бюлетень підтримки продукту (22 сторінок), Перелік деталей (1 сторінок), Бюлетень підтримки продукту (28 сторінок), Бюлетень підтримки продукту (41 сторінок), Бюлетень підтримки продукту (38 сторінок), Бюлетень підтримки продукту (28 сторінок), Бюлетень підтримки продукту (15 сторінок), Бюлетень підтримки продукту (22 сторінок), Посібник з монтажу (10 сторінок), Посібник з монтажу (3 сторінок)
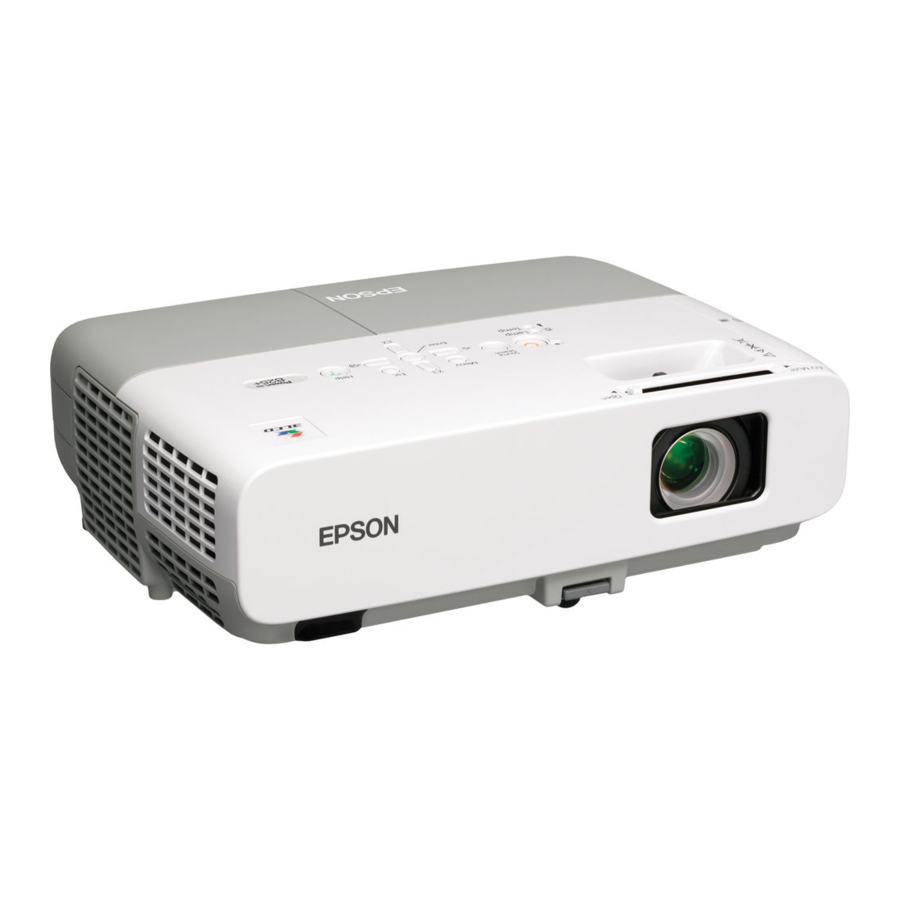
Epson PowerLite 825 Посібник з швидкого налаштування

Troubleshooting

If you see a blank screen...
If you see a blank screen or the No signal message after turning on your
computer, check the following:
Make sure the power light on the projector is green and not flashing, and
the A/V Mute slide is open.
Press the Source Search button on the projector or the Search button
on the remote control to select the computer as the image source.
If you're using a Windows notebook, press the function key on your
keyboard that lets you display on an external monitor. It may be labelled
CRT/LCD or have an icon such as
Fn key while pressing it.
If the projector and notebook don't display the same
image...
Windows
Try using the CRT/LCD or
key lets you toggle between the LCD screen and the projector, or display on
both at the same time.
If that doesn't work, check your monitor settings to make sure both the LCD
screen and the external monitor port are enabled.
1
From the Windows Control Panel, open the Display utility. In Windows
®
Vista
, right-click on the desktop and select Personalize, then select
Display Settings.
2
Click Settings, then click Advanced. In Windows Vista, click Advanced
Settings.
3
The method for adjusting the setting varies; you may have to click a
Monitor tab, then make sure the external Monitor port is set as your
primary display and/or enabled.
Mac OS
X
®
1
From the Apple
or Displays.
2
Click Detect Displays.
3
Make sure the VGA Display or Color LCD dialog box is selected.
4
Click Arrangement or Arrange, then make sure Mirror Displays is
selected.
key as described above. On most systems, this
®
menu, select System Preferences, then select Display
. You may have to hold down the