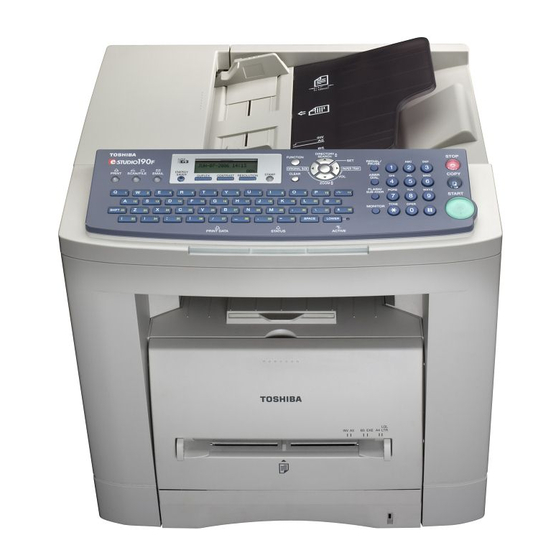
Toshiba E-Studio 190F Короткий посібник - Сторінка 19
Переглянути онлайн або завантажити pdf Короткий посібник для Принтер "Все в одному Toshiba E-Studio 190F. Toshiba E-Studio 190F 40 сторінок. Internet facsimile/email and network scan functions
Також для Toshiba E-Studio 190F: Короткий посібник (2 сторінок), Короткий посібник (16 сторінок)

Connecting Cables
ACTIVITY Lamp
Blinks when there is data
traffic on the LAN.
LAN Connection Jack
(10BASE-T/100BASE-TX)
LAN Cable
(10BASE-T/100BASE-TX Cable)
Insert the plug until a click is heard.
(LAN cable is not included with the product.)
Purchase a Category 5 Cable, compliant with
EIA/TIA 568-A-5 standard.
10BASE-T/100BASE-TX Ethernet Hub
Ethernet LAN
(10BASE-T/100BASE-TX
Cable Not included)
Power Cord (Included)
Optional Telephone Handset Jack
Connect the Telephone Line Cable from the
Optional Handset Kit into the HANDSET
jack on the back of the machine.
External Telephone Jack
You can connect an additional standard
single line telephone to the machine.
To connect a telephone,
remove the protective tab on the TEL jack.
RJ-11C
Telephone Jack
Optional 2nd Telephone Line Jack
(Optional G3 Communication Port Kit (GD-1230) is required.)
USB Port
See Operator's Manual
(For Document Management
System and Printer)
USB Connection Jack is used
for PC printing.
LINK Lamp
Illuminates when connected
to the LAN.
Lamp will not turn ON if LAN
cable is defective (contains
breaks).
Optional Handset Kit
(GJ-1150)
Power Switch
After connecting all Cables and
Power Cord, turn the Power Switch
on the back of the machine
to the ON ( I ) position.
Telephone Line Jack
Plug one end of the Telephone
Line Cable into the telephone
jack supplied by the telephone
company and the other end into
the LINE jack on the back of
the machine.
19
