Epson Stylus Pro 4880 ColorBurst Edition - Stylus Pro 4880 ColorBurst Короткий довідник - Сторінка 3

Переглянути онлайн або завантажити pdf Короткий довідник для Програмне забезпечення Epson Stylus Pro 4880 ColorBurst Edition - Stylus Pro 4880 ColorBurst. Epson Stylus Pro 4880 ColorBurst Edition - Stylus Pro 4880 ColorBurst 12 сторінок. Warranty statement
Також для Epson Stylus Pro 4880 ColorBurst Edition - Stylus Pro 4880 ColorBurst: Технічна специфікація (6 сторінок), Початок роботи (13 сторінок), Брошура та технічні характеристики (6 сторінок), Посібник з налаштування (16 сторінок), Посібник з експлуатації мережі (46 сторінок), Посібник з монтажу (4 сторінок), Інформаційний посібник про продукт (16 сторінок), Обмежена гарантія (12 сторінок)
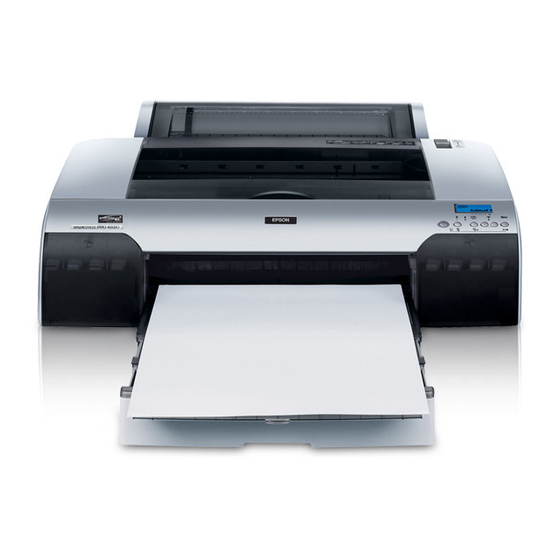
Epson Stylus Pro 4880 ColorBurst Edition - Stylus Pro 4880 ColorBurst Короткий довідник

Loading Paper in the Tray

Loading Paper in the Tray
Make sure the printer is on and roll paper is not loaded
for printing.
1
If your paper size is A3 or larger, pull out the paper
tray and cover.
2
Lift up the paper tray cover.
3
Flip up the paper guide roller and slide the edge
guide all the way to the left.
4
Thumb through a stack of paper, then gently tap it
on a flat surface to even the pages.
5
Load the sheets in the portrait orientation, short
edge first, with the printable side face-down. Place
the paper all the way back, against the right side of
the tray.
Don't load paper above the arrow mark inside the
edge guide.
Caution:
When you add more paper, always line up
the edges with the paper already in the tray.
6
Adjust the paper tray and edge guide according to
the paper size. For sheets smaller than A3, raise the
paper guide and move it to the edge of the stack.
7
Flip down the paper guide roller, adjust the length
of the paper tray cover (if necessary), then replace
the paper tray cover.
Note:
Make sure the roll paper support is
not raised.
8
Press the paper source button until you see the
cut sheet icon.
2