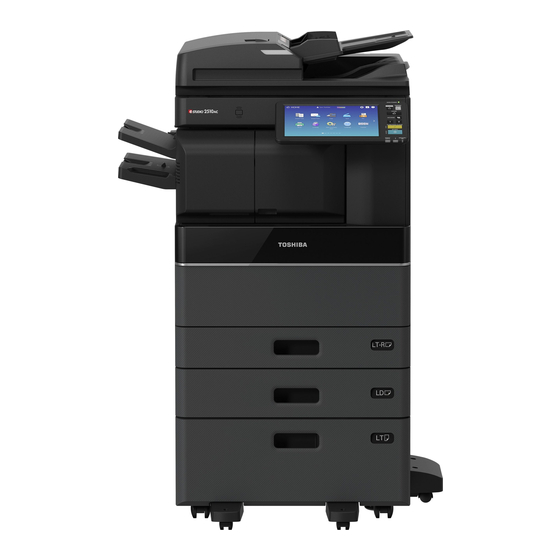
Toshiba e-STUDIO7518A Посібник користувача - Сторінка 3
Переглянути онлайн або завантажити pdf Посібник користувача для Принтер "Все в одному Toshiba e-STUDIO7518A. Toshiba e-STUDIO7518A 20 сторінок. Sys board diagnosis tool
Також для Toshiba e-STUDIO7518A: Посібник з управління (32 сторінок), Посібник оператора (32 сторінок)

Precautions
•
Use the System Board Diagnostic tool prior to using the Logic Board Diagnostic tool.
• This tool is only for use with the models listed in 'Target Models' below. It will not
work on models that are not listed.
• Be sure to use the tool with the mfp covers closed.
• Do not remove the USB memory while this tool is running. If the usb is removed, check
that the value of 08-9010 is "0" after use.
o If the value is anything other than "0", set it to "0".
• Do not turn the power of the main unit OFF while using this tool.
o If it was turned OFF, check that the value of 08-9010 is "0" after use.
o If the value is anything other than "0", set it to "0".
• If "USBMOUNTING: NG" (shown below) should occur when using the Diagnostic tool,
the following can be considered:
o The USB memory is not formatted in FAT32. Format the USB memory with
FAT32. A USB memory of 32GB or larger in size must be formatted in exFAT.
o A USB hub is connected. Remove the USB hub and connect only the USB
memory that stores the Diagnostic tool.
o A USB connection device other than a USB memory is connected to the main
unit. Connect only the USB memory that stores the Diagnostic tool.
o The USB harness on the SYS board is not connected properly. Make sure that
the white USB harness connected to the SYS board and the black USB harness
next to it are not connected in reverse (see below).
• If "USBMOUNTING: NG" still occurs even after taking the above measures,
discontinue use and try using a different USB memory device.
• If the following screen is displayed, save the Diagnostic tool in the USB memory
again and then try again.
3
