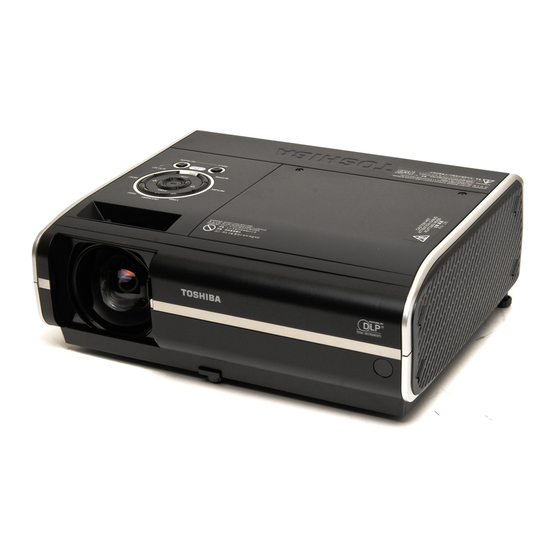
Toshiba TDP-EX20U - Short Throw DLP Projector Посібник користувача - Сторінка 32
Переглянути онлайн або завантажити pdf Посібник користувача для Проектор Toshiba TDP-EX20U - Short Throw DLP Projector. Toshiba TDP-EX20U - Short Throw DLP Projector 50 сторінок. Toshiba tdp-ex20u: specifications
Також для Toshiba TDP-EX20U - Short Throw DLP Projector: Технічні характеристики (2 сторінок)

Installing the applications
If you want to use the projector's internal wireless LAN function, install the Network Utility
on the supplied CD-ROM onto your computer.
System Requirements
®
Supported OS:
Windows
2000, Windows
Business)
®
(Windows
Conversion Tool.)
CPU:
Pentium M 1 GHz or higher recommended
RAM:
256 MB or more recommended
Screen area (resolution): 1024 by 768 pixels recommended
* The system requirements may vary depending on the conditions of use.
Notes
•
Some functions of applications may not be operational with Windows Vista™.
•
The Windows Vista™ 64-bit version is not supported.
™ 64-bit version is not supported.
64-bit version is not supported.
Application Types and Major Functions
Network Utility
This application is used for network connections. Use it to send the images from the
computer's screen to your projector, and display on the screen. In addition, also use it to
transmit the sound being played on a computer to the projector.
JPEG Conversion Tool
Use to convert JPEG and other files into a format that can be displayed as a slide show
using a USB memory.
How to install
Run the CD-ROM and double-click on Start.pdf. Acrobat
screen appears asking you that "Select your model", then click on the model name that
you are using. After you select Application on the next screen, click on Network Utility
and JPEG Conversion Tool in the application items and run setup.exe, respectively.
Follow the on-screen instructions.
During the installation, a dialog box may appear with the message "Digital Signature
Not Found" and the prompt "Do you want to continue the installation?". Click on the
[Yes (Y)] button to continue the installation.
When installation is finished, the following shortcuts will appear on your computer's
desktop:
Network Utility →
JPEG Conversion Tool →
®
XP and Windows Vista™ (Ultimate,
®
98SE and Windows
ME are supported by JPEG
®
Reader™ launches, and a
Operations
p.64
Operations
p.78
62
How to uninstall
Uninstall [Toshiba Data Projector] and [Jpeg Conversion Tool] programs by using a
program removal utility in the [Control Panel].
Notes
•
Your computer screen may temporarily go out during installation, but it is not an error.
•
Before beginning installation or uninstallation, you need to log on as Administrator.
•
When the projector is operated using Windows Vista™, it is required to run application
as an administrator. See the help section of the application for details.
63
