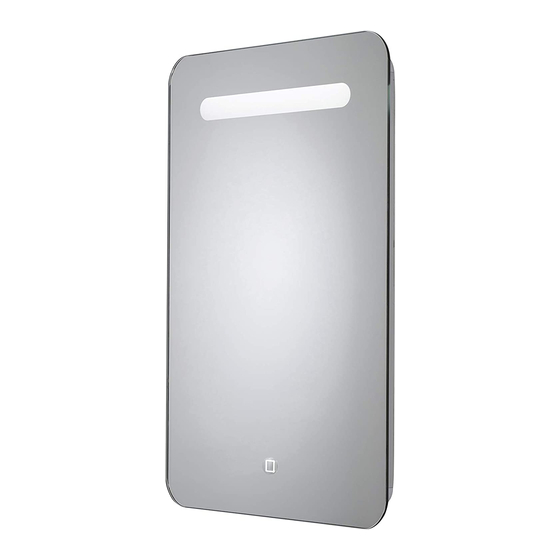
Croydex MM710600E Посібник - Сторінка 3
Переглянути онлайн або завантажити pdf Посібник для Внутрішнє оздоблення приміщень Croydex MM710600E. Croydex MM710600E 7 сторінок.

2
Top edge of mirror glass
Bottom edge of Hang 'N' Lock bracket
Image for reference only.
3. Place the bottom edge of the Hang 'N' Lock bracket onto the lower reference line and mark a screw hole
position in each cam hole recess. Remove the bracket from the wall.
4. Drill holes to a depth of 45mm and insert the wall plugs level with the surface of the wall. (Note: if you are fitting
the product to a tiled surface, insert the wall plugs below the surface of the tile to avoid cracking the tiles). Insert
the countersink screws through the Hang 'N' Lock cams and loosely secure the Hang 'N' Lock bracket to the wall.
The wall plugs supplied are for use on solid walls only. For cavity walls or plasterboard use specialist
fixings that are available from all good DIY stores.
5. With the Hang 'N' Lock bracket loosely attached to the wall, adjust for height and level by rotating the cams with
a flat head screwdriver, then use a Philips screwdriver to fully tighten the mounting screws, to securely fix the
bracket into position.
3
Image for reference only.
6.
Hang the mirror onto the Hang 'N' Lock bracket. Ensure the
mirror has securely located onto the bracket before letting go.
Proceed to Step 8 and 9.
7. Mounting in Landscape Orientation
The mirrors that can be mounted in landscape orientation are;
MM710500E - Sherston Illuminated Mirror
MM710600E - Cheaton Illuminated Mirror
To do this, measure the distance between the keyhole slot centres
and use a spirit level to mark two points on the wall. Drill the
mounting holes in the marked positions using an 8mm drill bit
and insert the screws, ensuring that the screw head extends out
of the wall by approximately 5mm. Adjust screw depth for a
secure fit.
Follow Step 10 for connecting to the electrical supply, then simply
hook the mirror onto the two screws.
2
4
Image for reference only.
5
Image for reference only.
6
7. Landscape Mounting
Bracket Distance
5 mm
8
x 2
MIR 035 R02
