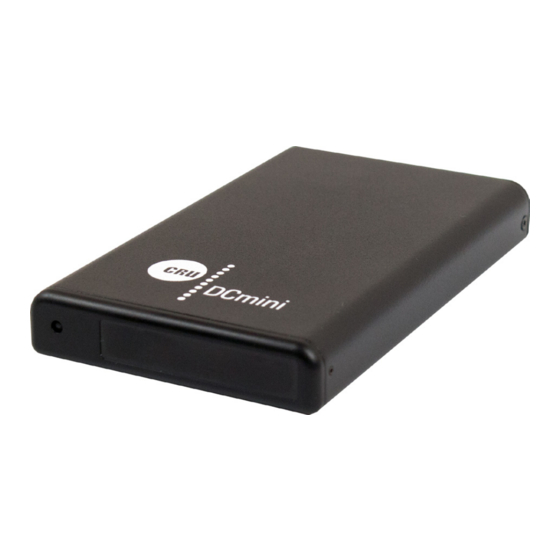
CRU DataExpress 115 DCmini Посібник із швидкого старту - Сторінка 2
Переглянути онлайн або завантажити pdf Посібник із швидкого старту для Корпус CRU DataExpress 115 DCmini. CRU DataExpress 115 DCmini 2 сторінки. Cartridge

1. Installation Steps
1.1 Adapter Installation
The DCmini adapter may be sold separately for use within a DX115 frame. Use
these instructions to install the adapter into the frame.
a. Insert the DCmini adapter into the DX115 frame.
b. Insert the key into the DX115 keylock and turn it 90 degrees counterclockwise
(to horizontal position) to secure the adapter into the frame.
NOTE: If you are using a version of the DX115 without a keylock, use
a small flat-head screwdriver to turn the adapter keylock 90 degrees
clockwise (to horizontal position) to secure the adapter into the frame.
1.2 Hard Drive Installation
a. If the DCmini cartridge is bundled with the DCmini adapter, press the Eject
button on the front of the DC adapter to eject the DCmini cartridge.
b. Use a Phillips-head screwdriver to remove the two screws found on either side
of the DCmini cartridge. Remove the end of the cartridge and then pull out the
drive board from the cartridge.
c. Mate a 2.5" SATA hard drive to the unified data connector on the drive board.
d. Turn the drive board over and secure the hard drive to the cartridge by using
the mounting screws provided.
e. Reinsert the drive board into the cartridge and replace the cartridge cover,
securing it with the two screws you removed in Step B.
2 Operating Your DX115 DCmini
2.1 With A DX115 Frame and DCmini Adapter
a. Ensure that the adapter is installed into the DX115 frame in your computer
(See Section 1.1).
b. Insert the cartridge into the adapter and press firmly until you hear an
audible click. The drive will automatically power on.
NOTE: The front of the cartridge will extend a little from the front of
the adapter.
NOTE: The unified data connector on the cartridge can only be used
with the CRU DX115 DC mini adapter.
2.2 With USB
NOTE: Your computer must be capable of sending out bus power to
devices through USB. Most computers have this capability.
a. Insert a micro-USB 2 or 3 cable into the rear of the cartridge and connect the
other end to your computer. The drive should power up and be detected by
your computer.
NOTE: When using a USB 2 cable, you will be limited to the USB 2
transfer speed of up to 480Mbps.
Your DX115 DCmini is now ready to use! If the hard drive is already formatted,
it can be used right away. If the hard drive is brand new, or its format is not
compatible with your computer, the drive will need to be formatted before
being used.
3 LED Behavior
Usage Scenario
LED Color
Behavior
Solid
Green
Blinking
Using DC mini
Adapter
Red
Solid
Solid
Using USB
Green
Blinking
Description
CRU DC mini adapter successfully connected and the
drive is powered on.
Indicates drive activity.
CRU DC mini adapter was not successfully authenti-
cated. Only the CRU DC mini adapter works with the
DX115 DC mini. If you are using a DC mini adapter,
please contact Technical Support.
DC mini is successfully plugged into a USB port and
the drive is powered on.
Indicates drive activity.
CRU Mark
10.25.12
PMS 711
2 cyan
85 magenta
76 yellow
