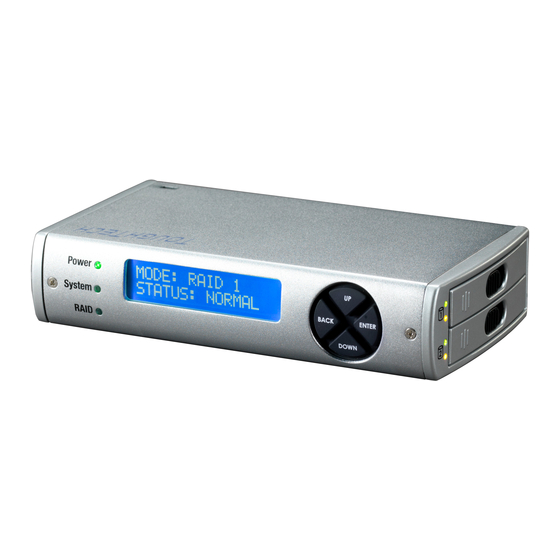
CRU Dataport ToughTech Duo-3SR Посібник користувача - Сторінка 5
Переглянути онлайн або завантажити pdf Посібник користувача для Зберігання CRU Dataport ToughTech Duo-3SR. CRU Dataport ToughTech Duo-3SR 8 сторінок.

g. Select "YES." The RAID is now created.
WARNING: Changing RAID levels will erase any data on
the drives. Make a backup copy of any data you wish to
keep before changing the RAID.
5.2 Changing the RAID Type
a. Press the Up button, for the "Change RAID Mode" screen.
b. Press the Enter button.
c. Press the Down or Up button to select the desired RAID type.
d. T he screen will display "Will Erase all Data." Selecting "OK"
will result in the loss of all data on the drives. (Ensure all data
is backed up prior to pressing OK.) If you're ready to continue,
press Enter.
e. T he new configuration will be selected and ToughTech will
reboot.
f. T oughTech has been configured and is ready for operation.
Follow the instructions for the appropriate operating system
usage instructions to initialize and format the drives.
WARNING: Any data on the new disk will be destroyed
when the drive is added to the RAID.
6. Adding a New Disk
6.1 RAID 1
In the event of a disk failure or removal for a RAID 1, the RAID
will continue to function in a degraded state. Add a new disk to
ToughTech Duo to rebuild the RAID.
After the new drive has been detected ToughTech Duo will ask to add
a new disk. Press the Enter button to select "YES" to add the disk.
The disk will be added to the RAID and the RAID will begin to rebuild.
The LCD screen will display the percent complete for the rebuild.
Rebuild times vary; a 1TB hard drive takes just over 3 hours to rebuild.
6.2 RAID 0
Never remove a drive from a RAID 0 as this will cause the loss of
all data. In the event of a disk failure for a RAID 0, the RAID will be
destroyed. Add a drive and then press the Up button to create a new
RAID. Follow the display prompts to build a new array.
RAID is Not a Backup
Because your ToughTech Duo features a redundant RAID mode
which protects against a hard drive mechanical failure, it is an
excellent part of any backup strategy. However, a RAID is not, in
itself, a backup strategy. Many things besides hard drive failure
can damage or erase your data:
Corruption caused by unexpected disconnection during data access
(e.g. a cable is unplugged during a data transfer, or the computer
crashes or loses power while writing to the drives)
• Corruption or destruction caused by viruses or other malware
• Sabotage by a disgruntled employee or acquaintance
• Theft or loss of your ToughTech Duo
• Natural disasters such as fire, flooding, etc.
Considering these possibilities, any single copy of your important
data must always be considered at risk. That's why backing up is
so important. Follow the 3-2-1 backup rule. Your data should exist
in three different places on two different storage media and at
least one of those copies should be maintained offsite.
If you do not have an effective backup strategy, you may not be
able to recover your data, or the cost of recovery may be quite
expensive. Our warranty does not cover costs associated with data
loss (nor do the warranties of other hard drive manufacturers).
We know it would be heartbreaking to lose your data, so please
plan accordingly!
6.3 Single Disk Mode
In the event of a drive failure in Single Disk mode, all data will be
lost. Single Disk mode allows usage of a single hard drive. If a second
drive is added later, it cannot be combined with the first disk, nor will
it provide the option of two individual disks to be seen by the host
computer. It will allow the option to create a new RAID using both
disks, though this will destroy any data on both disks.
7. Buzzer and Temperature Configuration
If you would like to set a password for security, enable or disable
audible alarms, or change the temperature thresholds for heat warnings
and alarms, you may do so using a free software utility known as
Configurator. To download the Configurator software and user's
manual, please visit www.wiebetech.com/software/configurator.php.
WiebeTech is a brand of CRU.
NOTE: To configure your ToughTech Duo-QR, you must be
connected via FireWire or USB 2.0. To configure your ToughTech
Duo-3SR, you must be connected via USB 2.0 and use the eSATA/
USB 2.0 combined port on the Duo unit.
Page: 5
