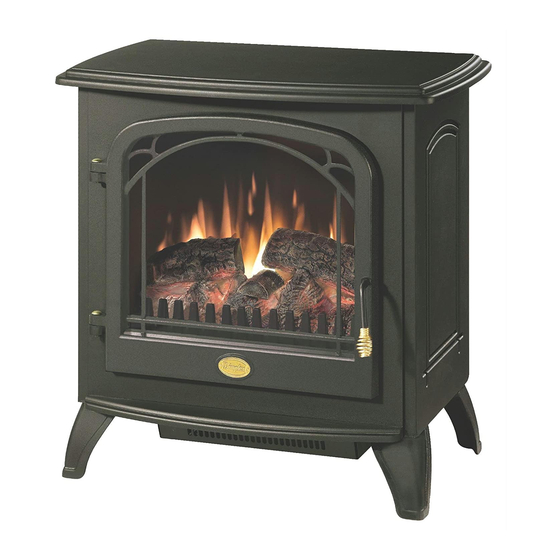
Dimplex DS5804 Посібник з експлуатації - Сторінка 9
Переглянути онлайн або завантажити pdf Посібник з експлуатації для Піч Dimplex DS5804. Dimplex DS5804 13 сторінок. Electric
Також для Dimplex DS5804: Практичний посібник користувача (11 сторінок), Посібник користувача (14 сторінок), Посібник користувача (16 сторінок)

1. Remove the stove pipe kit (if equipped).
2. With front door closed, gently place stove door side down
on a flat surface.
3. Remove the retaining screws on the REAR stove legs
with a screwdriver and remove the rear legs.
4. Remove the rear cover retaining screw located at the
lower center of the rear cover.
5. Slide the rear cover down 4 to 6 inches and gently pull
the cover up from both the top and bottom bowing it
slightly and remove it from its mounting slot. When the
cover is removed place beside the stove being careful
not to damage any of the wiring.
6. Locate the remote control receiver mounted on the rear
panel and disconnect the wiring clips and connections
noting their original locations.
!
NOTE: Use a flat head screwdriver to gently pry be-
tween the end of the connector and the receiver to release
the wires.
7. The receiver is secured to the unit with plastic standoffs,
these can be removed by using either: needlenose pliers
and squeezing the tabs on each of the standoffs; or using
wire cutters and cutting the standoffs from: above – flush
to the board; or below the board - flush to the back panel.
Pull the board off of the tabs, and remove the board from
its location, noting its original orientation.
8. If the tabs were cut off, raise the top of the fireplace off
your work surface and using needle nose pliers push the
remainder of the original mounting tabs out of the back
panel and push the new mounting tabs (supplied with
the new board), into the same location from behind the
panel.
9. Gently push the new board onto these mounting tabs ac-
cording to the orientation of the original board.
10. Reassemble in the reverse order as above.
Flicker Motor/Flicker Rod Replacement
Tools Required: Philips head screwdriver
Flat head screwdriver
Needle-nose pliers
WARNING: If the fireplace was operating prior to servic-
ing, allow at least 10 minutes for light bulbs and heating ele-
ments to cool off to avoid accidental burning of skin.
WARNING: Disconnect power before attempting any
maintenance to reduce the risk of electric shock or damage
to persons.
1. Remove the stove pipe kit (if equipped).
2. With front door closed, gently place stove door side down
on a flat surface.
3. Remove the retaining screws on the REAR stove legs
with a screwdriver and remove the rear legs.
4. Remove the rear cover retaining screw located at the
lower center of the rear cover.
5. Slide the rear cover down 4 to 6 inches and gently pull
the cover up from both the top and bottom bowing it
slightly and remove it from its mounting slot. When the
cover is removed place beside the stove being careful
not to damage any of the wiring.
6. Locate the flicker motor and flicker rod assembly and
remove the wiring clips and connections noting their
original locations.
7. Remove the mounting bracket screws on the flicker
motor side only and pull the assembly out of the other
mounting bracket.
NOTE: When removing the flicker motor some damage may
occur to the flicker rod. If flicker rod is damaged replace to
ensure proper operation.
8. To remove the flicker rod attach needle nose pliers to the
spring on the motor shaft and pull while rotating in the
opposite direction of the spring winding.
9. To remove the flicker motor you must first remove the
flicker rod (see above). Remove the motor mounting
screws and remove motor from the mounting bracket.
10. To replace the flicker rod attach needle nose pliers to the
flicker rod spring and push onto the flicker motor shaft
while rotating in the opposite direction of the spring wind-
ing.
11. Properly orient the flicker motor and connect all of the
wiring clips connections in their original locations.
12. Reassemble in the reverse order as above.
Power Cord Replacement
Mod 0-B
Tools Required: Philips head screwdriver
Flat head screwdriver
Needle-nose pliers
WARNING: If the fireplace was operating prior to servic-
ing, allow at least 10 minutes for light bulbs and heating ele-
ments to cool off to avoid accidental burning of skin.
WARNING: Disconnect power before attempting any
maintenance to reduce the risk of electric shock or damage
to persons.
1. Remove the stove pipe kit (if equipped).
2. Open door by turning the handle ¼ turn to the right or
left.
3. Remove the screw from the grate and ember bed.
4. Pull the ember and log assembly forward as permitted.
5. Lift log assembly up at one end and remove through door
opening sideways.
6. Locate and remove the two heater mounting screws
under the reflective milar sheet.
7. Close and lock the door by turning the handle ¼ of a turn
to the right or left.
8. Gently place the stove, door side down on a flat surface.
9. Remove the retaining screws on the REAR stove legs
with a screwdriver and remove the rear legs.
10. Remove the rear cover retaining screw located at the
lower center of the rear cover.
11. Slide the rear cover down 4 to 6 inches and gently pull
the cover up from both the top and bottom bowing it
slightly and remove it from its mounting slot. When the
cover is removed place it beside the stove being careful
not to damage any of the wiring.
9
