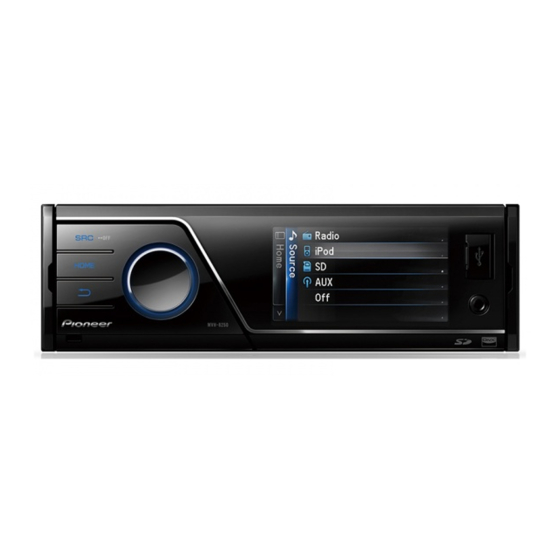
Pioneer MVH-8250BT Посібник з монтажу - Сторінка 6
Переглянути онлайн або завантажити pdf Посібник з монтажу для Автомобільний приймач Pioneer MVH-8250BT. Pioneer MVH-8250BT 32 сторінки. Media center receiver

Installation
3. Install the unit as illustrated. (Fig. 3)
Use commercially available parts when
installing.
3 Nut
4 Firewall or metal support
5 Metal strap
6 Screw
7 Screw (M4 × 8)
• Make sure that the unit is installed securely
in place. An unstable installation may cause
skipping or other malfunctions.
Removing the unit
1. Press the detach button to release
the front panel.
• Refer to the Operation Manual about how to
release the front panel.
2. Insert the supplied extraction keys
into both sides of the unit until they
click into place.
3. Pull the unit out of the dashboard.
(Fig. 4)
Installing the microphone
(MVH-8250BT only)
Install the microphone in a position and
orientation that will enable it to pick up the
voice of the person operating the system.
CAUTION
• It is extremely dangerous to allow the microphone
lead to become wound around the steering column
or gearstick. Be sure to install the unit in such a way
that it will not obstruct driving.
When installing the microphone
on the sun visor
1. Install the microphone on the
microphone clip. (Fig. 5)
8 Microphone
9 Microphone clip
2. Install the microphone clip on the
sun visor. (Fig. 6)
• With the sun visor up, install the microphone
clip. (Lowering the sun visor reduces the voice
recognition rate.)
a Microphone clip
b Clamp
Use separately sold clamps to secure the lead
where necessary inside the vehicle.
When installing the microphone
on the steering column
1. Install the microphone on the
microphone clip. (Fig. 7)
c Microphone
d Microphone base
e Microphone clip
f Fit the microphone lead into the groove.
• Microphone can be installed without using
microphone clip. In this case, detach the
microphone base from the microphone clip. To
detach the microphone base from microphone
clip, slide the microphone base.
2. Install the microphone clip on the
steering column. (Fig. 8)
g Double-sided tape
h Install the microphone clip on the rear side of the
steering column.
i Clamp
Use separately sold clamps to secure the lead
where necessary inside the vehicle.
Adjusting the microphone
angle (Fig. 9)
j The microphone angle can be adjusted.
<CRD4475-A> <6>
English
