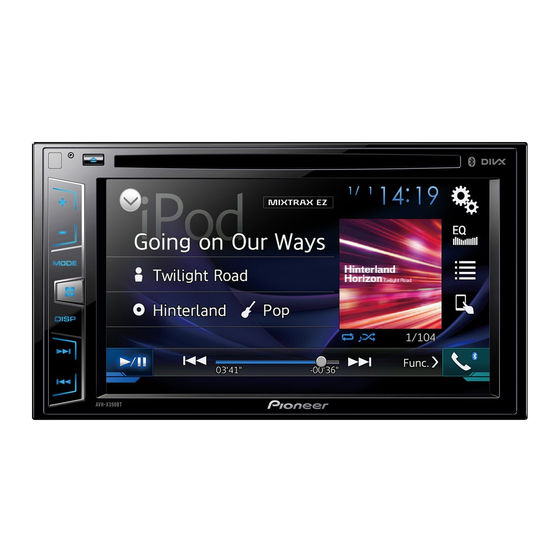
Pioneer AVH-X390BT Посібник з монтажу - Сторінка 4
Переглянути онлайн або завантажити pdf Посібник з монтажу для Стерео приймач Pioneer AVH-X390BT. Pioneer AVH-X390BT 49 сторінок.

Connection
Grey: Front right + or high range right +
Grey/black: Front right – or high range right –
Green: Rear left + or middle range left +
Green/black: Rear left – or middle range left –
Violet: Rear right + or middle range right +
Violet/black: Rear right – or middle range right –
l ISO connector
In some vehicles, the ISO connector may be divided into two.
In this case, be sure to connect to both connectors.
The position of the handbrake switch depends on the vehicle
model. For details, consult the vehicle Owner's Manual or
dealer.
When a subwoofer is connected to this product instead of
a rear speaker, change the rear output setting in the initial
setting. The subwoofer output of this product is monaural.
When using a subwoofer of 2 Ω, be sure to connect the
subwoofer to the violet and violet/black leads of this unit. Do
not connect anything to the green and green/black leads.
Power amp (sold separately)
Without internal amp
Important
The speaker leads are not used when this connection is in
use.
3
1
2
5
5
3
2
1
7
7
3
2
1
9
9
4
With internal amp
Important
Front speaker and Rear speaker signals (STD) or middle range
speaker and high range speaker signals (NW) are output from
the speaker leads when this connection is in use.
1
2
9
1 System remote control
Connect to Blue/white cable.
2 Power amp (sold separately)
3 Connect with RCA cable (sold separately)
4 To Rear output (STD)
To middle range output (NW)
5 Rear speaker (STD)
Middle range speaker (NW)
6 To Front output (STD)
To high range output (NW)
7 Front speaker (STD)
High range speaker (NW)
8 To subwoofer output (STD)
To low range output (NW)
9 Subwoofer (STD)
Low range speaker (NW)
Please select the appropriate speaker mode between stand-
4
ard mode (STD) and network mode (NW).
For details, refer to Operation Manual.
iPhone and smartphone
6
For details on how to connect an external device using a
separately sold cable, refer to the manual for the cable.
For details concerning the connection, operations and
compatibility of iPhone, refer to Operation Manual.
For details concerning the connection and operations of
Android device, refer to Operation Manual.
8
iPhone with Lightning
connector
Connecting via the USB port
3
8
9
1 USB port
2 USB cable 1.5 m
3 USB interface cable for iPod / iPhone (CD-IU52) (sold
separately)
4 iPhone with Lightning connector
iPhone with 30-pin connector
Connecting via the AUX input
1 USB port
2 AUX input
3 USB cable 1.5 m
1
3
2
1
2
4
3
4
5
