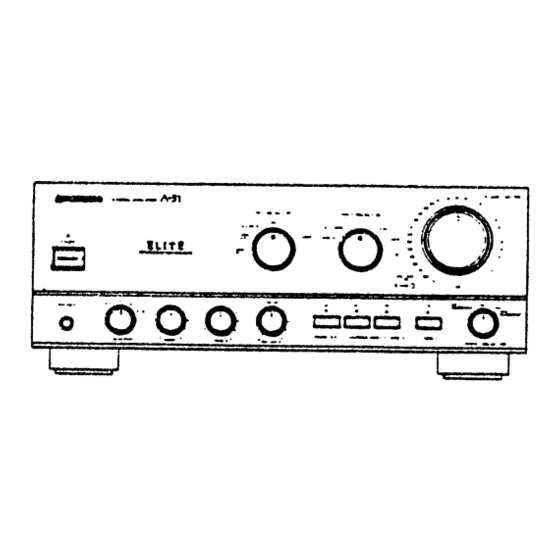
Pioneer A-777 Інструкція з експлуатації Посібник з експлуатації - Сторінка 14
Переглянути онлайн або завантажити pdf Інструкція з експлуатації Посібник з експлуатації для Підсилювач Pioneer A-777. Pioneer A-777 16 сторінок. Stereo
Також для Pioneer A-777: Посібник з експлуатації (25 сторінок), Інструкція з експлуатації Посібник з експлуатації (32 сторінок)

r
TROUBLESHOOTING
Incorrect operations are often mistaken for trouble and malfunctions.
If you think that there is something wrong with this component,
check the
points below. Sometimes the trouble may lie in another component.
Investigate the other components and electrical appliances being used.
If the trouble cannot be rectified even after exercising the checks listed below, ask your nearest PIONEER authorized service cemer or your dealer
to carry out repair work.
Symptom
Cause Remedy
• Power plug is disconnected from outlet.
• Insert plug securely into outlet.
has been plugged
• Turn on power to the other component.
er outlet (e.g. timer,
etc.) but power to that unit is disconnected.
• Connecting cords are disconnected from jacks,
• Connect securely.
• Jacks, or connecting cords pin plugs are dirty.
• Clean jacks and plugs.
h or ADPT 1/
• Set switches correctly (PHONO, TUNER, CD,
s not match the
LINE, DATITAPE 1, TAPE 2). Set the ADPT 1/
TAPE 3 to OFF.
is incorrect.
• Consult the operating instructions for the other
components.
h is set to "OFF."
• Set the switch to "A,"
"B" or "A
+
B."
OFF" position
• Set PHONO EO button to "ON"
position.
n A-777).
• Shol1ing bars are not inserted into the ADPT 2
• Insert the shorting bars properly.
• Volume control set to
"00"
position.
• Increase volume level from
"00"
position.
r lit). (A-777 only)
• Turn off the muting button (indicator off).
• Connecting cords or speaker cords are
• Connect securely.
• BALANCE control has been adjusted to one side.
• Adjust BALANCE control to center position.
• The position of REC SELECTOR switch is
• Set switch correctly
(See section "RECORDING TAPES").
• Reconnect properly.
s incorrect.
• Consult the operating instructions for the
cassette deck.
• The position of REC SELECTOR switch is
• Set switch correctly
(See section "COPYING TAPES").
incorrect.
• Consult the operating instructions for the
cassette decks.
24
<ARE1194>
En
